Make Me a Sandwich!..My Mother’s Parmesan Cookies
MMMMMMM, cookies. Who doesn’t love a nice, soft, chewy chocolate chip cookie that almost melts in your mouth? Nothing is better, except maybe if you have a glass of ice cold milk to wash it down. Cookies are a treat. Cookies are a dessert. Cookies are sweet. Or are they?
When deciding what I wanted to make for this month’s installment of Make Me a Sandwich!, Rizzo asked if I wanted to try a recipe that she found. She came across the recipe in a magazine and it has been hanging in our kitchen for some time so I decided to give it a try. The page had been torn from the magazine so I have lost the author’s name, by the recipe for My Mother’s Parmesan Cookies has a nice introduction.
My mother is an excellent cook and can whip up the most elaborate dishes from every country she’s ever lived in - and she’s lived in many! But of all of her creations, this one is perhaps the most genius because of its sheer simplicity. With just three ingredients, you get these addictive, amazing cookies, which are far greater than the sum of their parts. I always have a few batches of dough on hand in case we have last-minute guests-and also just because.
Cookies with just three ingredients? Something that easy sounds too good to be true but if I could make delicious cookies and have the dough on-hand in the freezer for any given moment then it would certainly be worth the time so I gave it a go. The introduction was right from one perspective. They are certainly easy to make.
Here is what you’ll need to make these bad boys:
-16 tablespoons of unsalted butter, softened
-2 cups of finely grated Parmigiano-Reggiano cheese
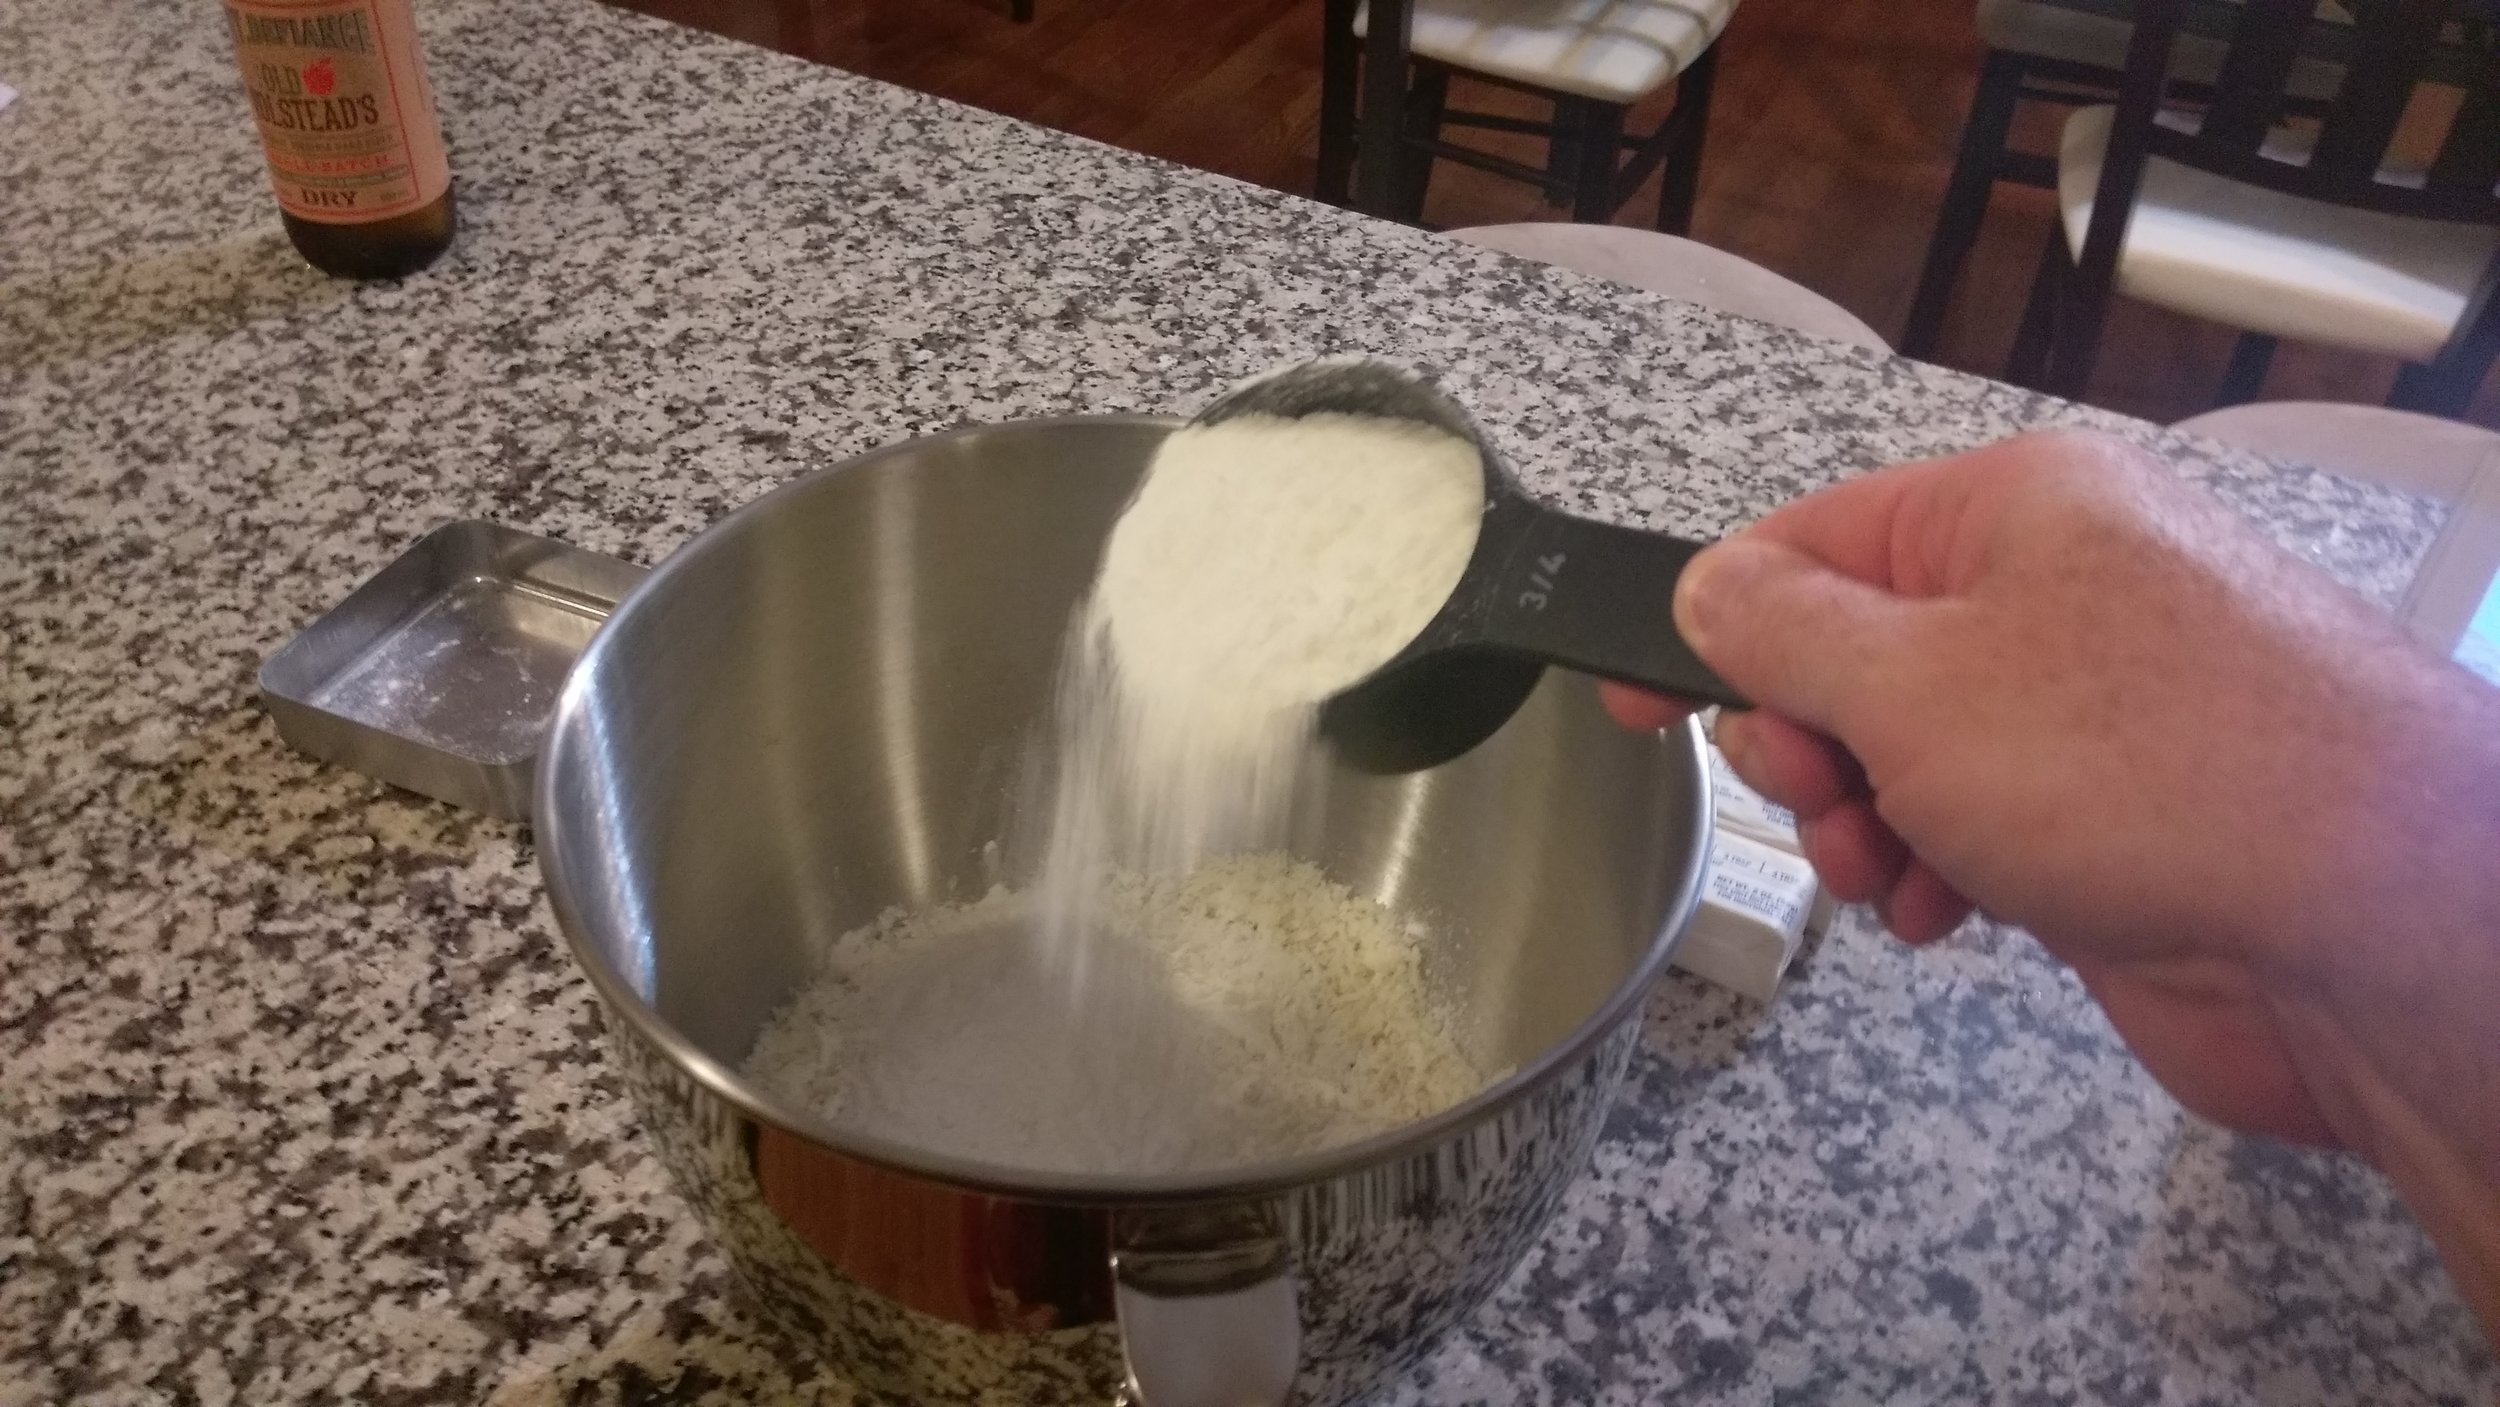
-1 ¾ cups of all-purpose flower.
That’s it. Just those three ingredients will get you some cookies in about an hour and a half (don’t worry, you are only working for about 15 minutes). Let’s see how we make this SOBs.
The first step on the recipe states that you should preheat your oven to 350 degrees and line two rimmed baking sheets with parchment paper. DON’T DO THAT. All that will do is run up your gas or electric bill because your oven will be turned on but unused for about 75 minutes. I suppose if you need to heat up your workspace you could follow this direction but I’m sure there are cheaper ways to get warm. If your feet are cold don’t turn on the oven just put on a hat.
Skip to the second step (which really should be the first step) and go from there. Step two (or one, or whatever): get married. That typically isn’t a step in a recipe but it is vital for this recipe because you will need a stand mixer. There are only two groups of people that own a stand mixer: chefs and married couples. I’m convinced that every married couple is legally obligated to register for a stand mixer from Bed, Bath, and Beyond. I’ve never met a single person that has a stand mixer. So since you need a stand mixer for this recipe you’ll need to get married.
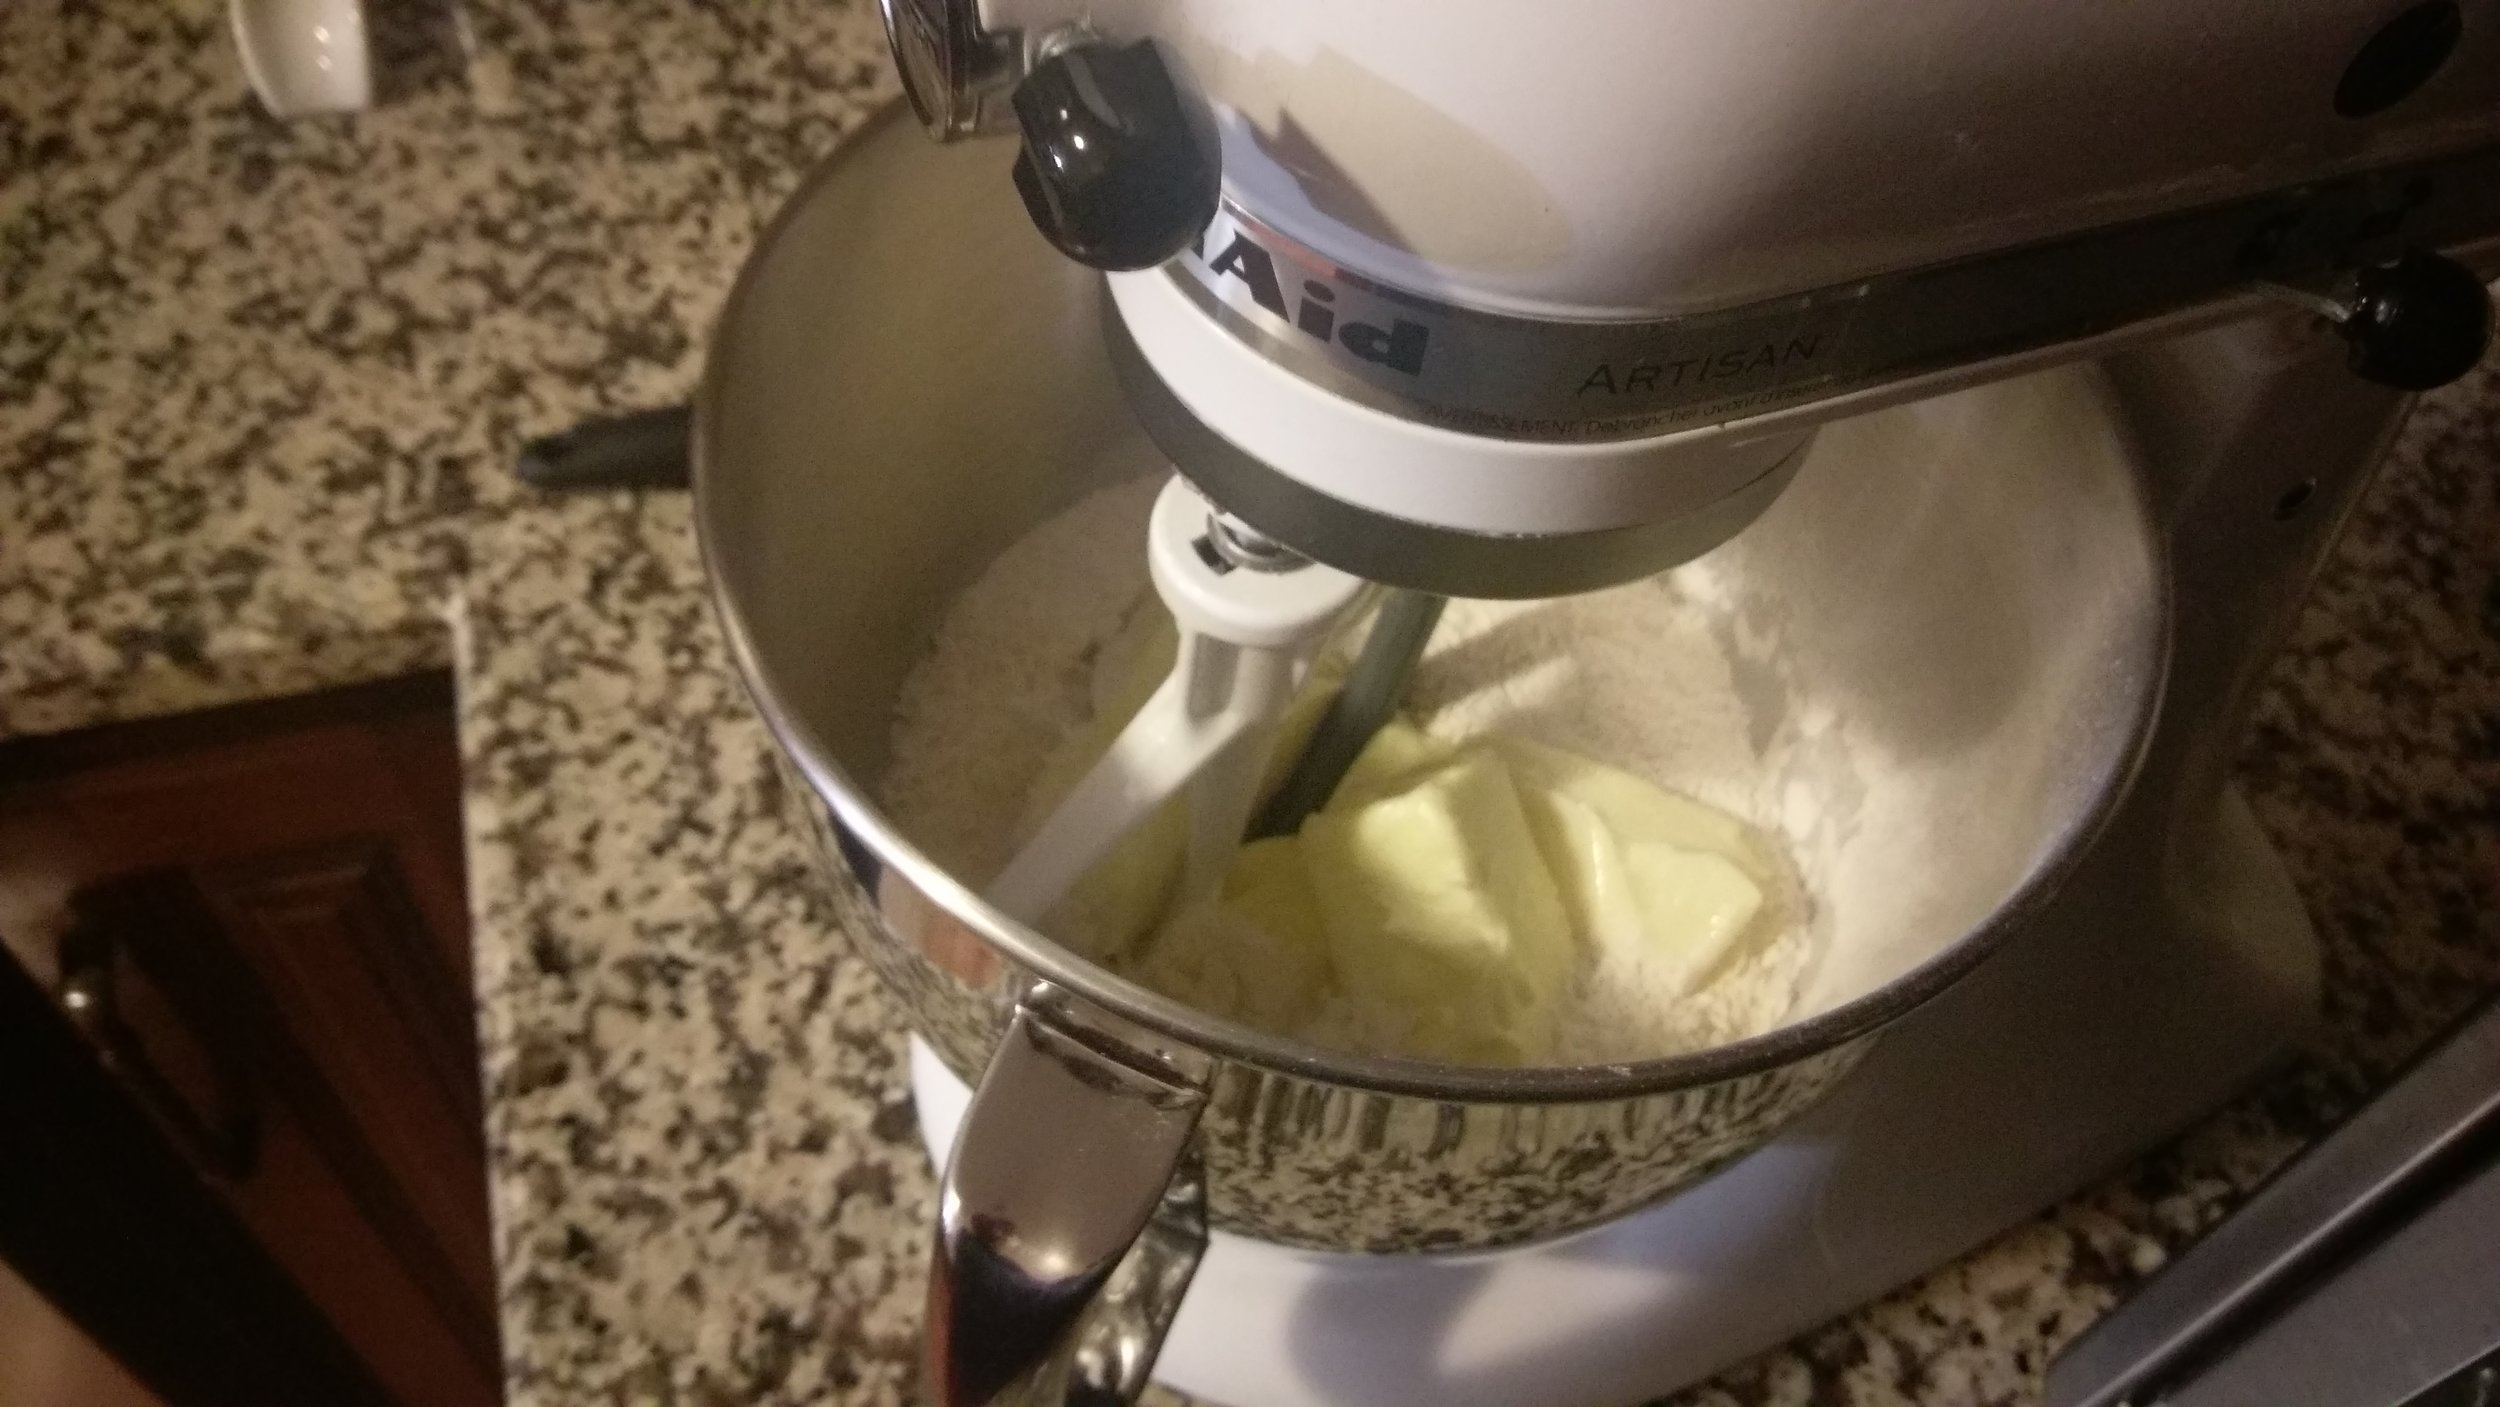
Once the 5 or 6 coworkers you felt obligated to invite to your wedding have pitched in and bought you the stand mixer you didn’t know you needed, you can finally get started on this recipe. Fit your stand mixer with the paddle attachment (don’t worry, it comes standard). Toss the butter, cheese, and flour in the mixing bowl and then beat it (Just Beat It!) until you have a stiff dough. As the recipe notes, when you start mixing the ingredients it will appear extra dry and won’t seem to come together. Don’t worry, just be patient and keep it going. The dough will form soon enough.
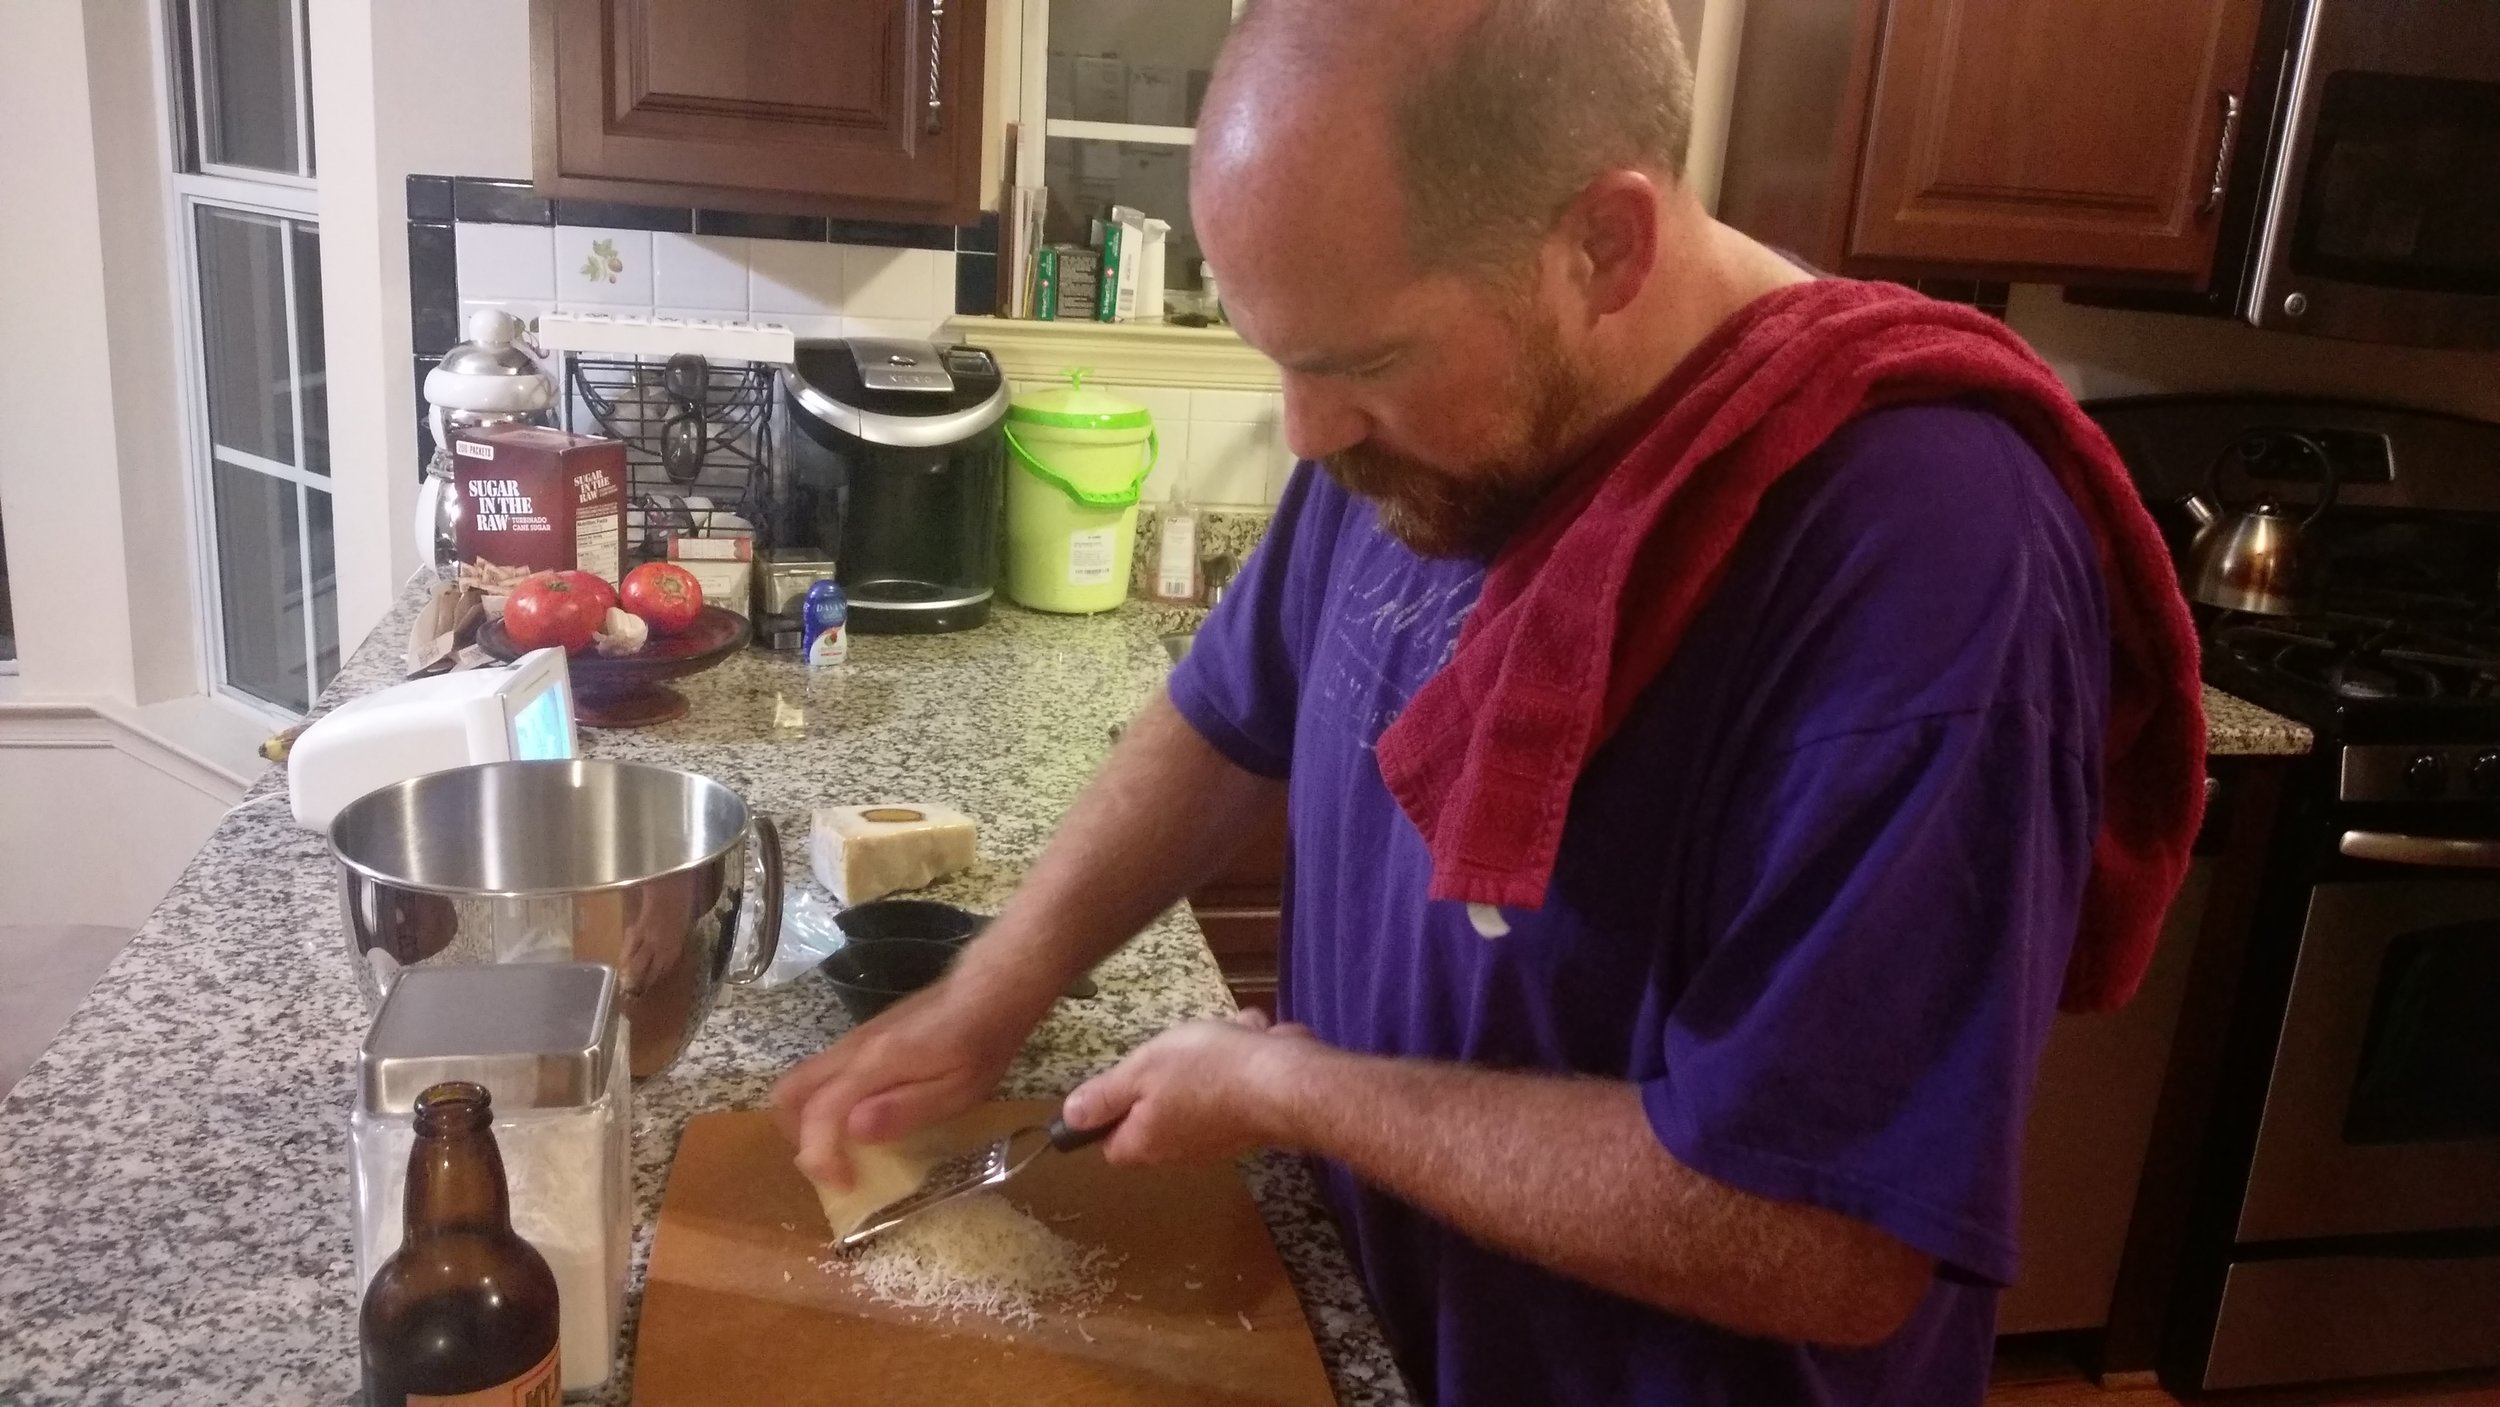
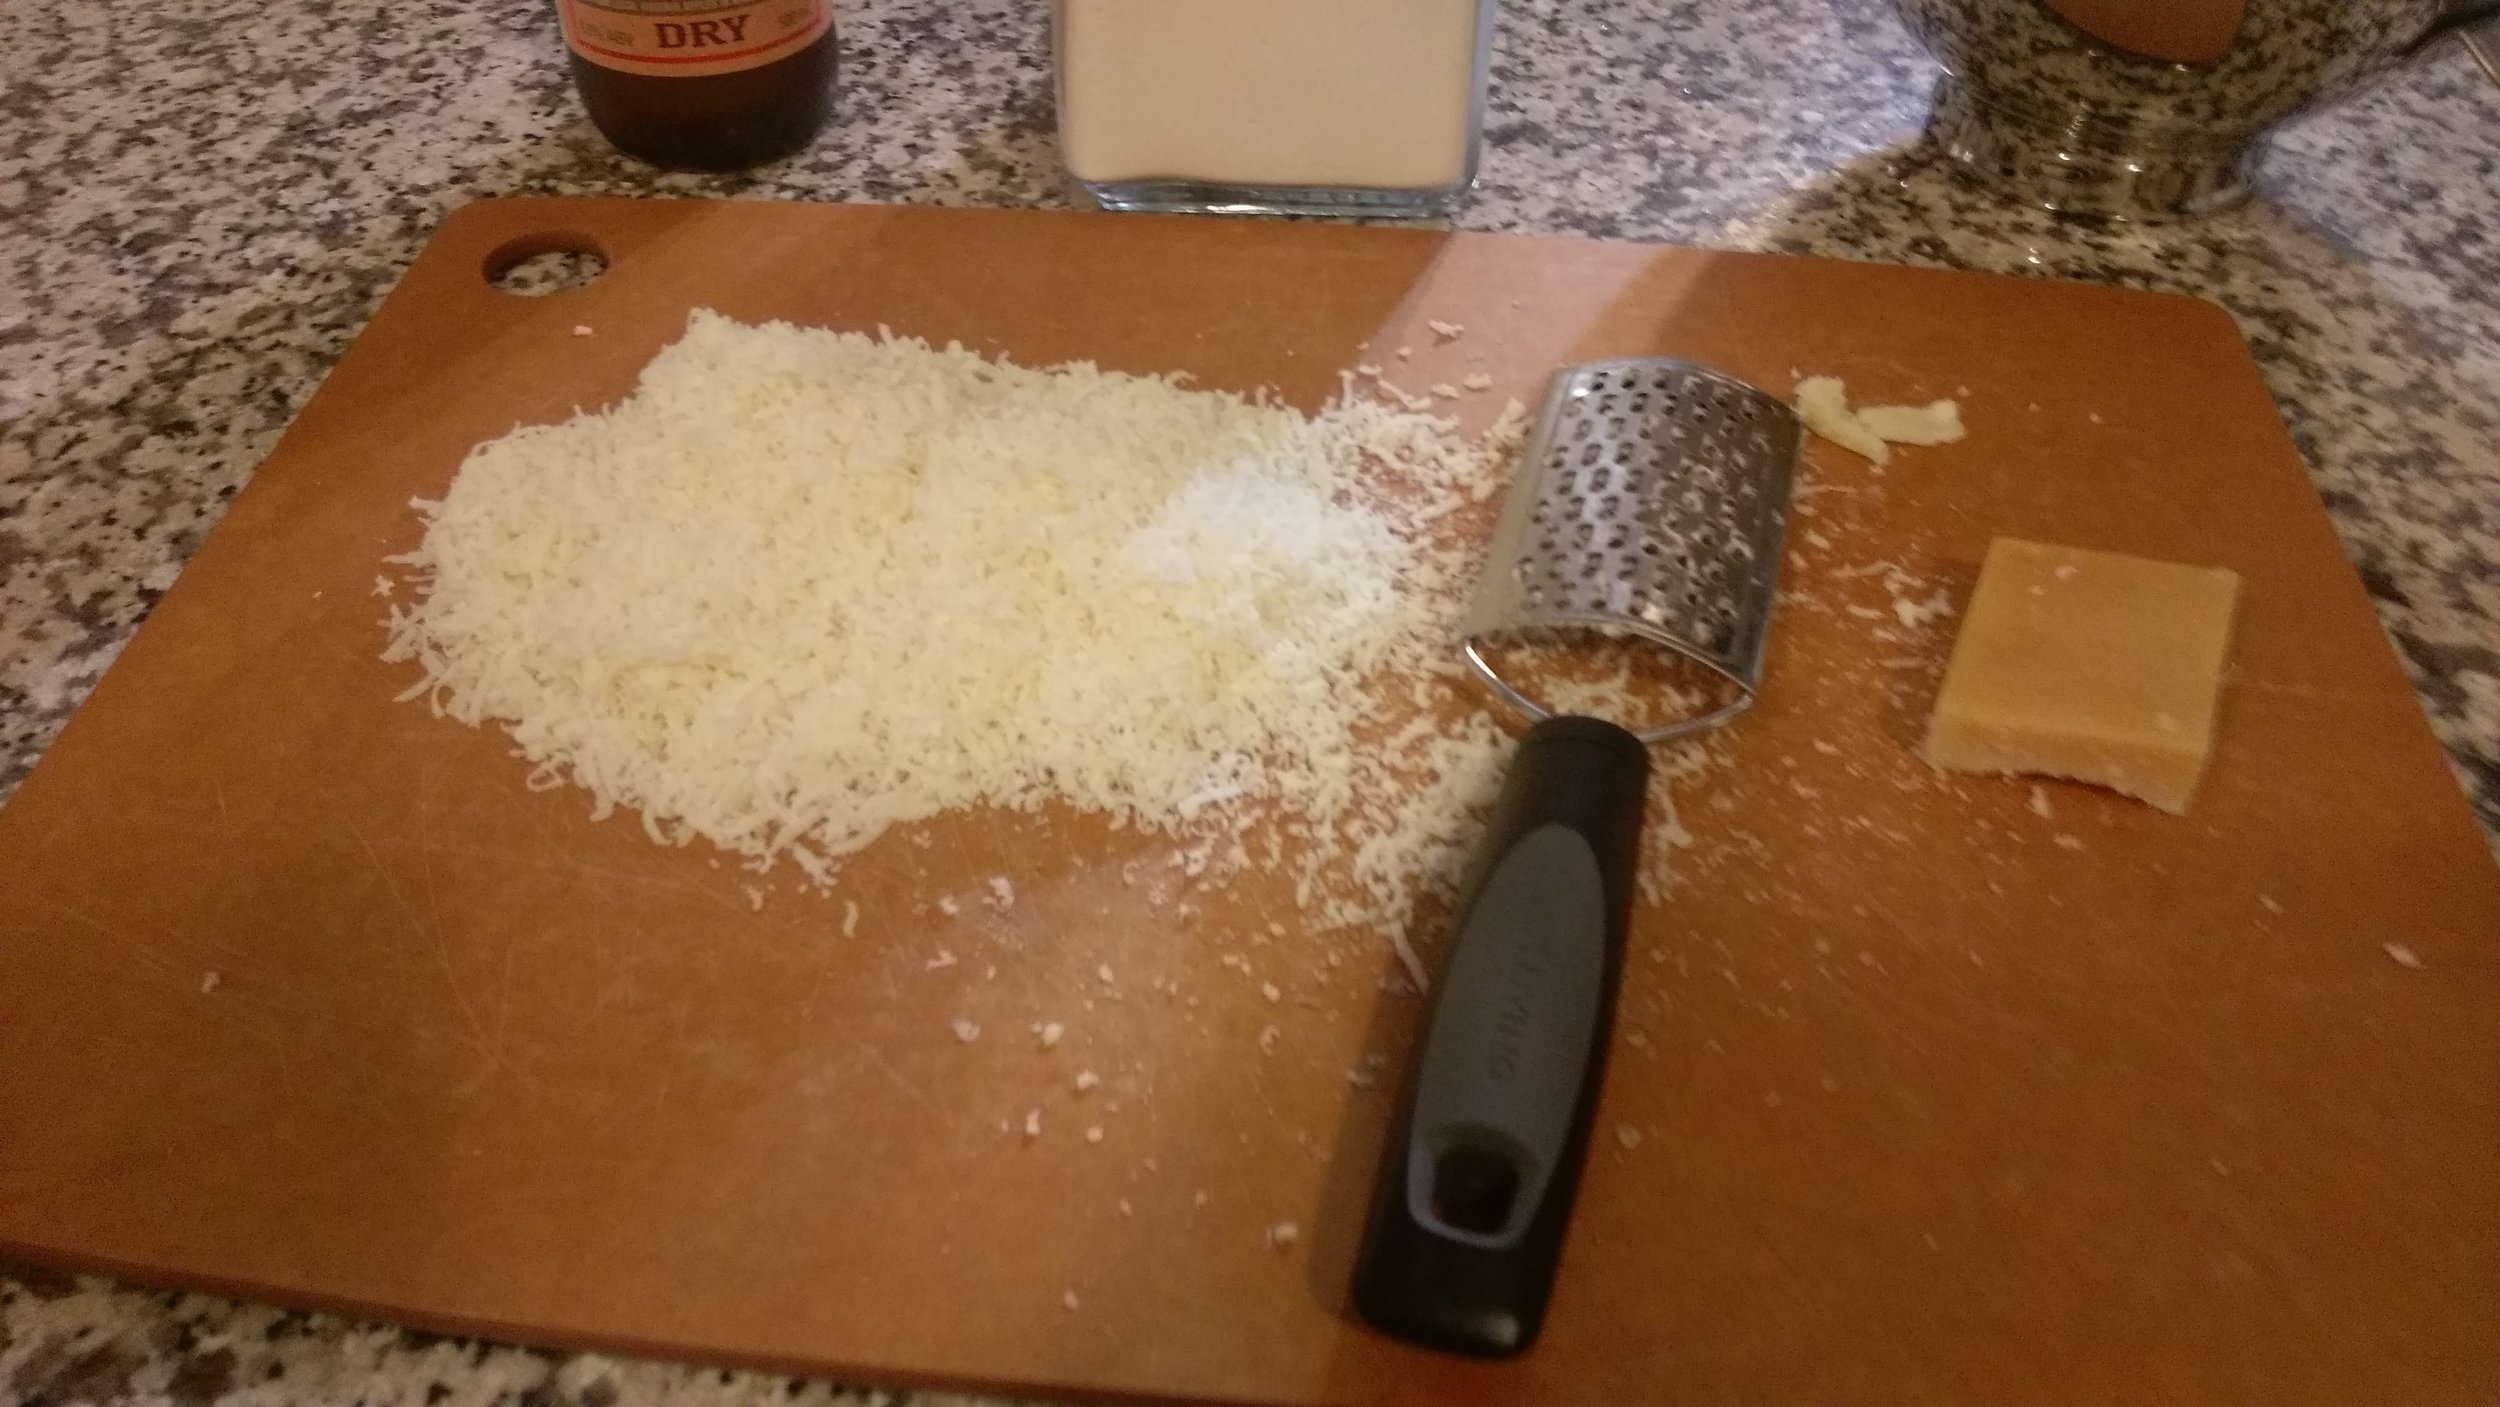
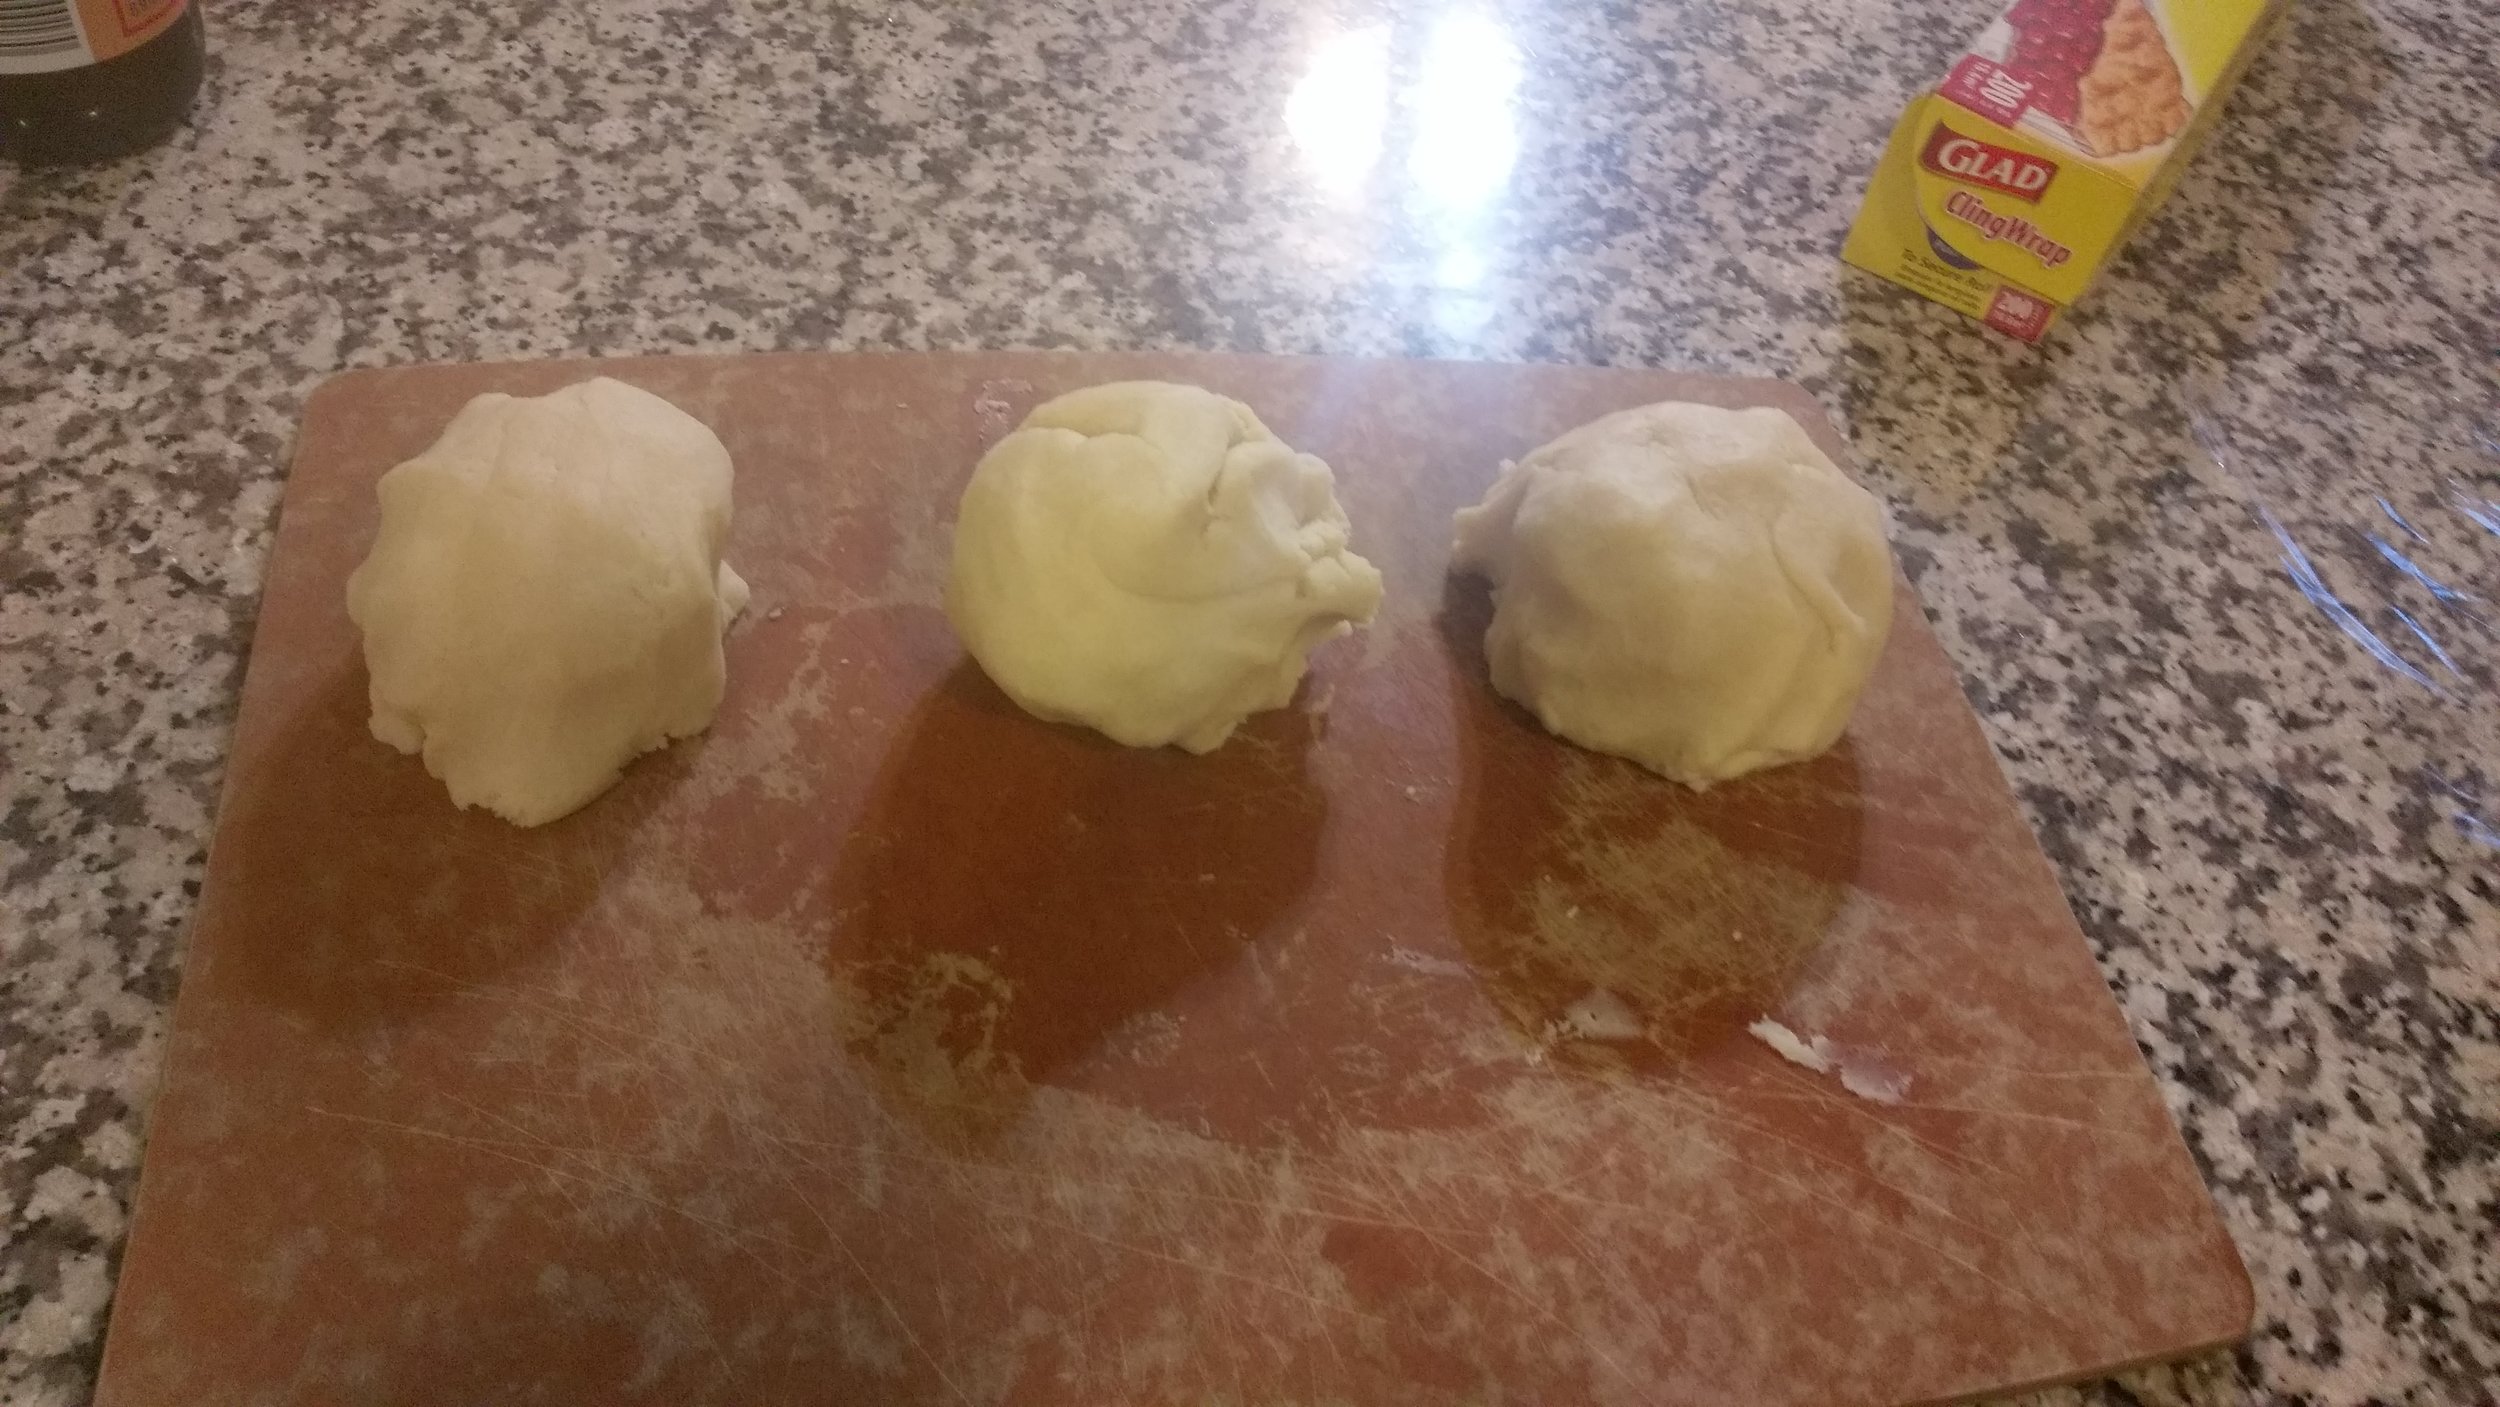
Once you have a nice dough formed, remove the mixture from the bowl and separate into three equal pieces. Roll out each piece until it is about 9 inches long and about 1 ½ inches in diameter. I know all of you out there will be tempted to pull out your rulers but that is a bit of overkill. To get an idea on how thick to roll the log, touch your thumb to your pointer finger to form a circle. Got it? Now punch yourself because I made you look. Yes, that is a joke from sometime in the early 2000’s but it still works and it still gives you an idea on how thick to make your log. Wrap each log up tight in plastic wrap and plop it in the fridge for about an hour. If you want to make the dough early in advance, you can throw it in the freezer for up to 2 months but make sure to take the dough out of the freezer and let it sit for 15 minutes at room temperature before slicing.
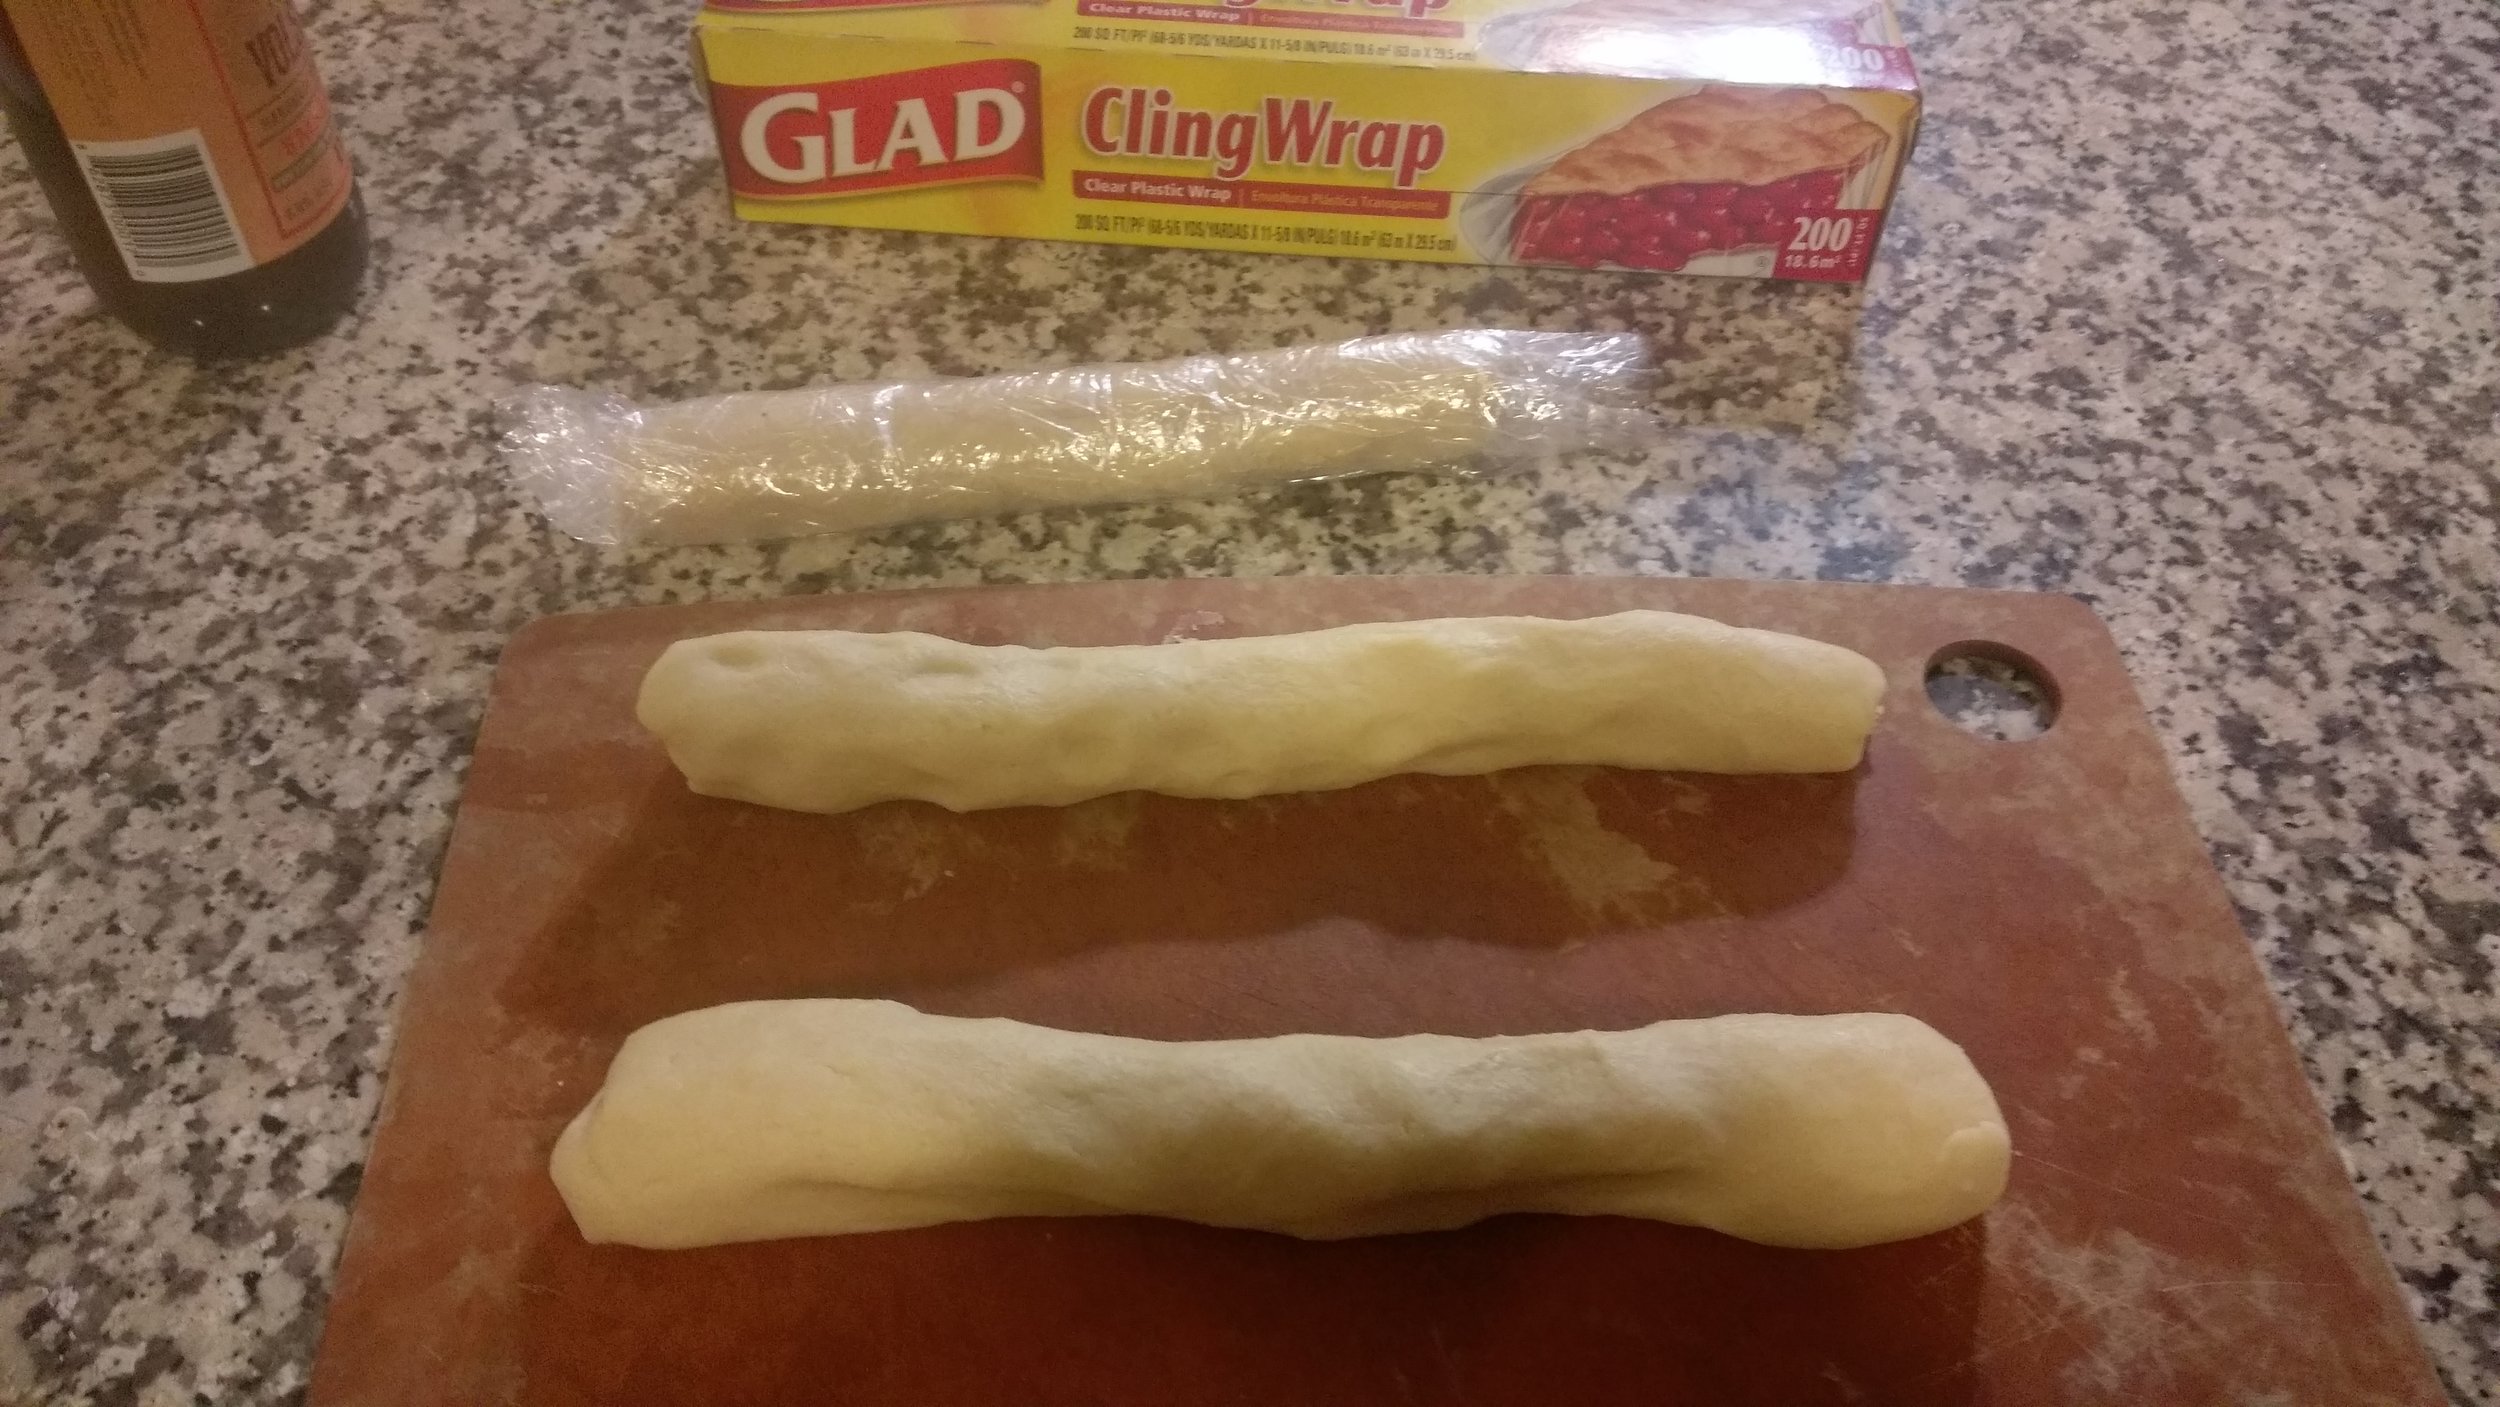
Remember up above when the recipe said that the first step was to preheat your oven to 350 degrees and line two rimmed baking sheets with parchment paper? Now is the time to do that. When your dough is ready remove it from the plastic wrap (no one wants to eat plastic wrap). Slice each log into ⅓-inch-thick rounds (about the size of your fingernail) and place them on the prepared baking sheets roughly two inches apart (about the length of your thumb). Bake the cookies for 15 to 18 minutes. The cookies should turn a golden brown around the edges. Make sure to shift and rotate the pans halfway through baking to make sure they cook evenly. When you are all done baking, let the cookies cool for 10 minutes in the pan then move them to a wire rack to cool completely.
All done! That was easy, wasn’t it? Now take a bite. What do you think? They certainly aren’t what you were expecting when you hear the word cookie. The cheese will certainly dominate your taste buds. Don’t eat too many because they are very rich. I personally am torn on how I feel about these cookies. I’m not a fan of just eating them alone because of the overwhelming cheese flavor. I didn’t have the chance to try but I feel like these cookies would work better as a topping for a Caesar's salad or would work wonders as an addition to a thick and creamy tomato soup. Give them a try and tell me what you think. I’d love to hear your thoughts. Now start eating!


