
Make me a sandwich!: Apple Crisp
This past Christmas (yes, you are reading a blog about gifts received during Christmas in the middle of the summer) was the Christmas of cast iron. I was very excited to receive not one but two very handy cooking items made from the glorious cooking metal known as iron. Iron holds the heat better than any other metal and somehow magically makes all food taste better. So Rizzo was kind enough to give me the gift of a cast iron skillet and an enamel-covered cast iron crock pot. I didn't want to waste too much time before getting to use these wonderful gifts so for our family New Year’s Eve party I decided to cook up something tasty.
I kicked off the meal with a simple shrimp cocktail along with some cheese and crackers. I had to keep the ladies happy while I cooked up the delicious meal. I was also able to use my cast iron skillet to cook up a couple of the most delicious steaks I’ve ever consumed with a side of baked potato and green beans. Yes, it was tasty but it isn’t why you are reading. You want to get to the real reason for eating. The dessert of an apple crisp.
I made the apple crisp a bit earlier in the day because (1) it takes a while for it to bake and (2) both Rizzo and I enjoy this kind of dish being cold.
I suppose I should back up and answer the question on your mind: What is an apple crisp? I suppose the best answer is that an apple crisp is an apple pie where the crust is only on top. In the big scheme of things, it is a pretty easy dish to prepare assuming you have the right equipment like a cast iron dutch oven.
Want to give it a try? Here is what you’ll need:

8 Large Granny Smith Apples
¼ cup of water
½ cup plus 2 Tbs sugar
½ cup plus 2 Tbs brown sugar
½ tsp nutmeg
¾ tsp cinnamon
1 cup plus 2 Tbs flour
¾ cup butter (12 Tbs)
Dash of salt
The recipe I used, as does every recipe that I’ve ever used, indicates that the first step is to preheat the oven to 350°. Feel free to do this if you want but you’ll end up with an oven just sitting there heating for 30 minutes of so without anything cooking. Just give yourself a little bit of time and save a few bucks on your gas bill (or electric) by leaving your oven off. It doesn’t take too long to heat the oven to 350° so just wait because you are about to get carpal tunnel.

The next part of this recipe has the shortest description but takes the longest to complete. Peel the apples and then slice into eighths. It sounds like a simple process and maybe for someone more skilled with a blade (like Blade or the Dred Pirate Roberts) it may only take a few minutes. For me, it was a painful and time consuming process. I’m lucky enough to have a little device to remove the core of the apple with ease. Unfortunately, I still have to peel the skin off of each individual apple with a small knife. The process of removing the skin forces your fingers into inhuman positions for long periods of time. I’m 99% confident that I dislocated my right ring finger and my left pinky in the process. However, I got the job done.

After you have powered through the slicing and dicing of the apples, arrange the slices as evenly as possible in the bottom of the dutch oven then cover with the water. Set that aside to get started on the topping.
There is a complicated mixing process to making the topping. It takes extreme timing and precision. Before you start, take a moment to center yourself. Maybe take a five minute yoga class on YouTube. Stretch. Breathe. Relax. Pour yourself a nice crisp pilsner beer or perhaps a glass of Pinot Grigio. Now you are ready.

Now would be a good time to start heating your oven to 350°. Pour all the other ingredients you have left from the above list into a food processor or a blender. I don’t have an electric food processor so I used a blender. Turn the preferred device on and mix until everything is combined and looks like sand. Now the topping is done.
Pull balls of the topping out and pat out flat. Place the pieces on top of the apples until covered. There may be a few open spots. Don’t worry about that. It isn’t a big deal if every possible centimeter is covered. Just make a topping that looks like it is mostly covered.
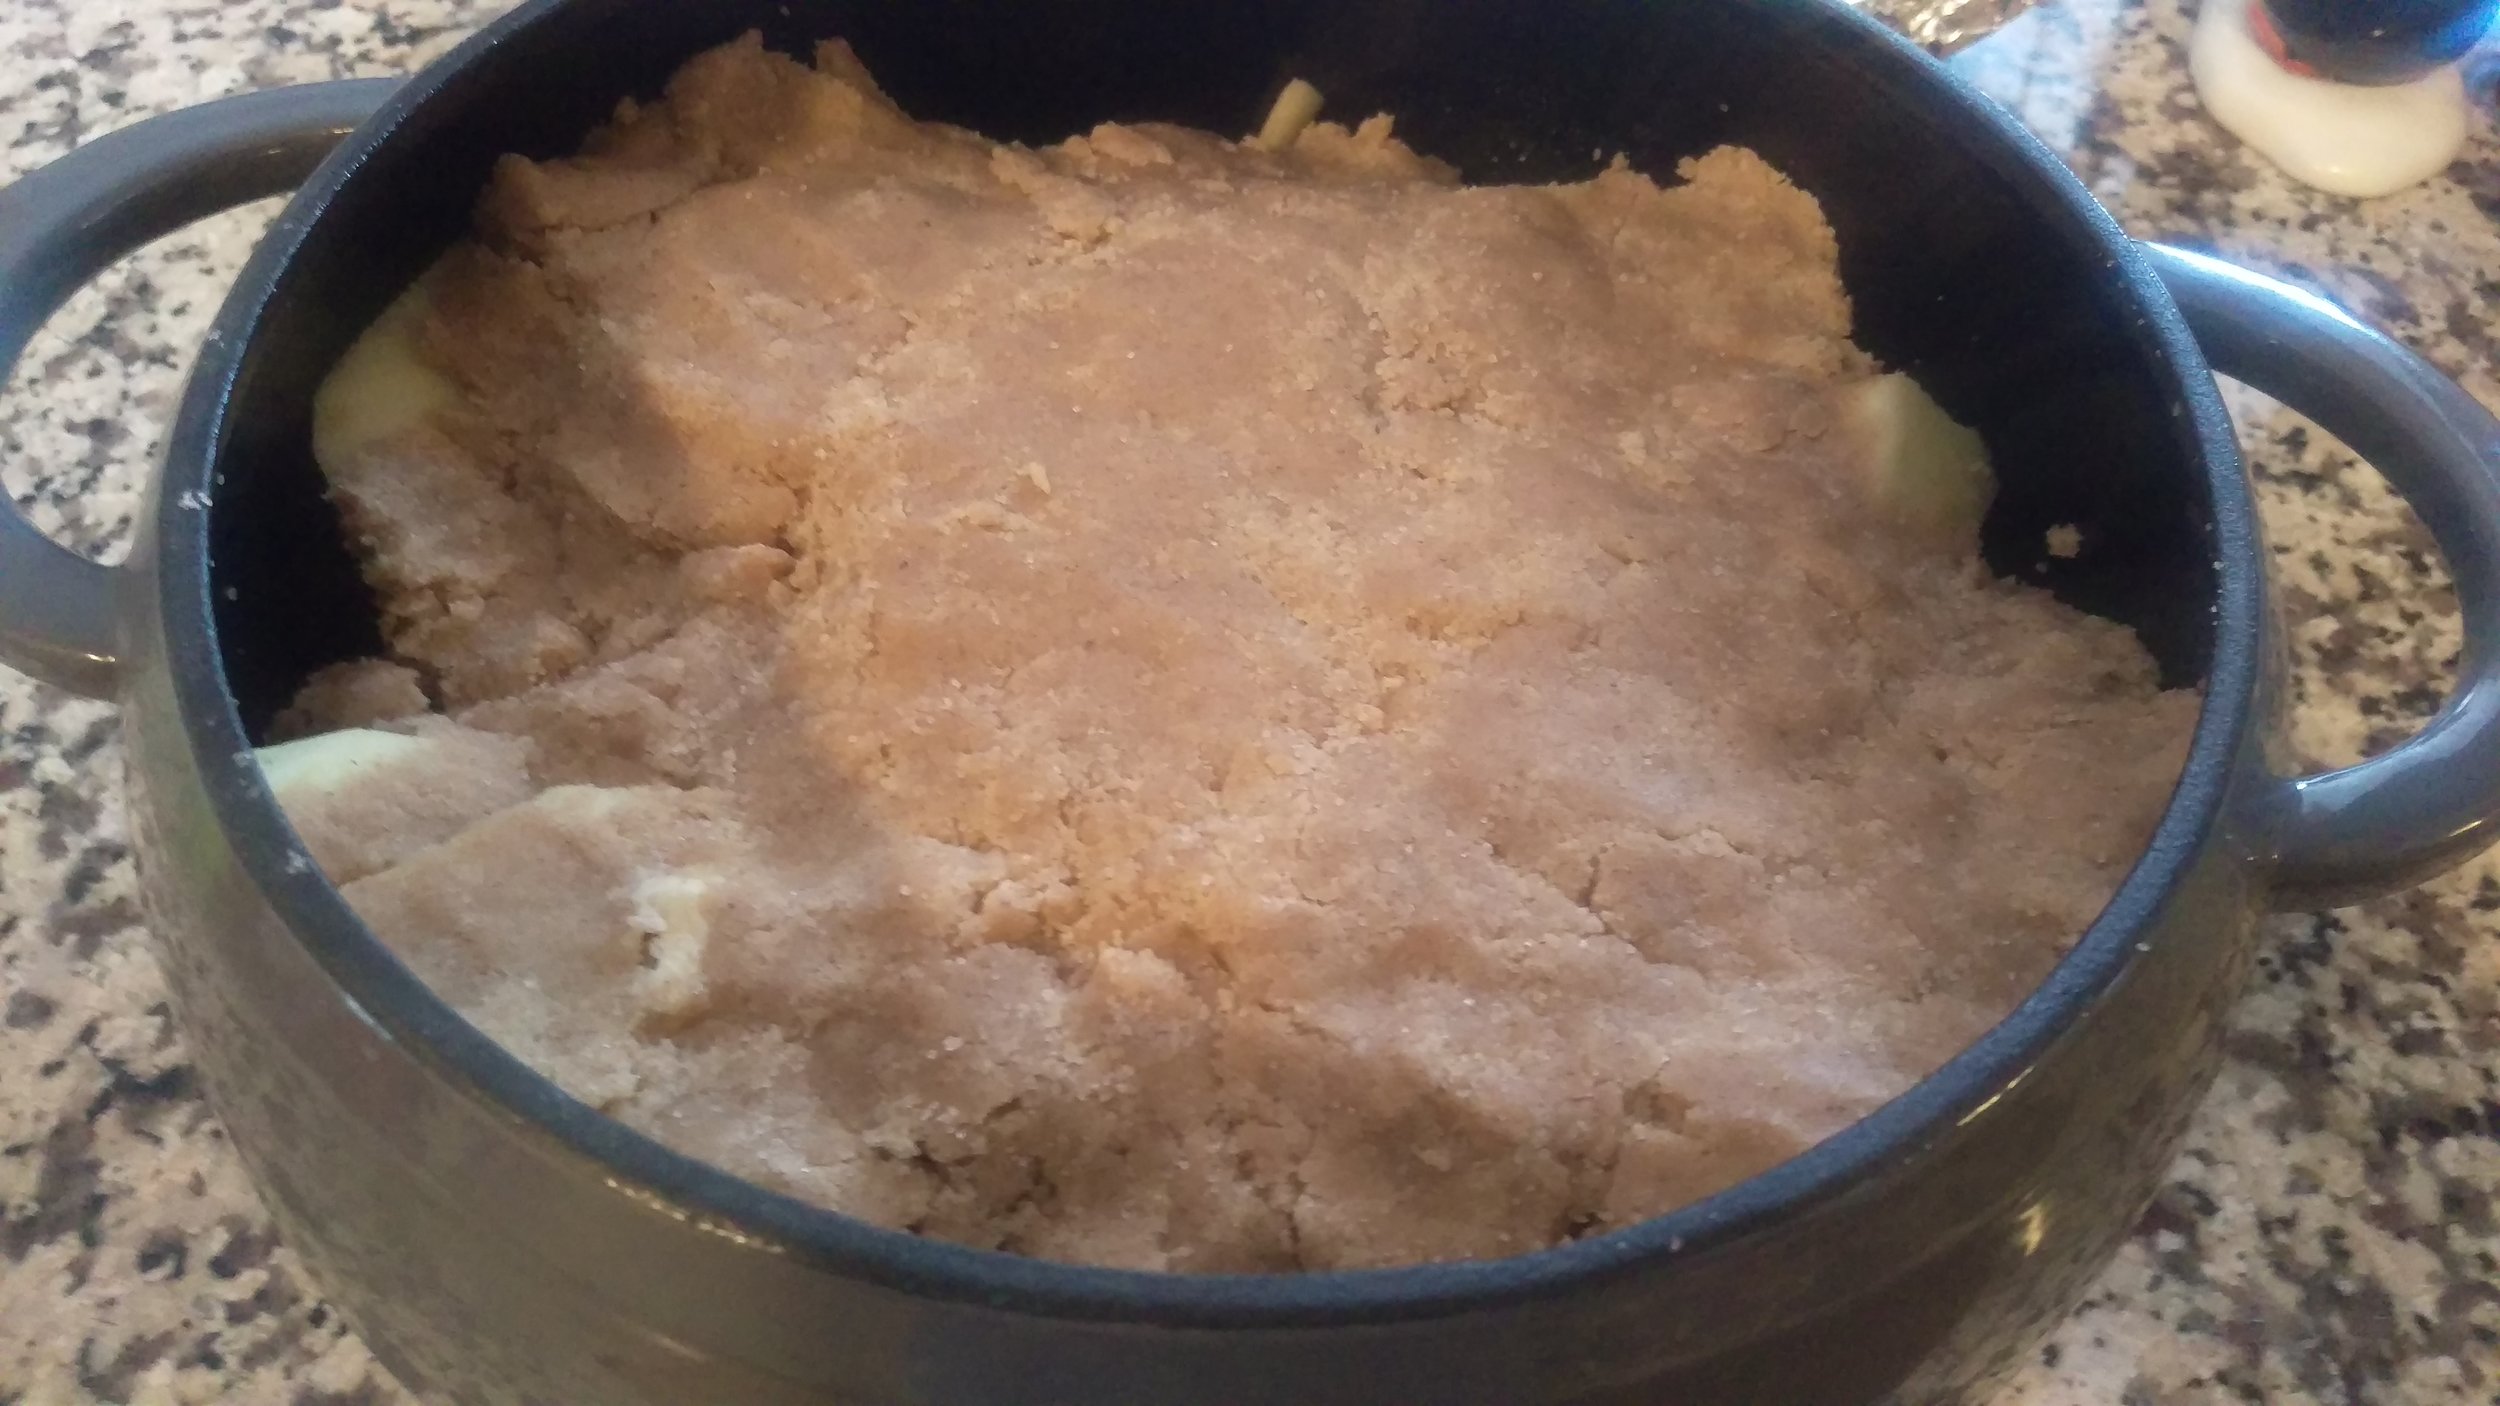
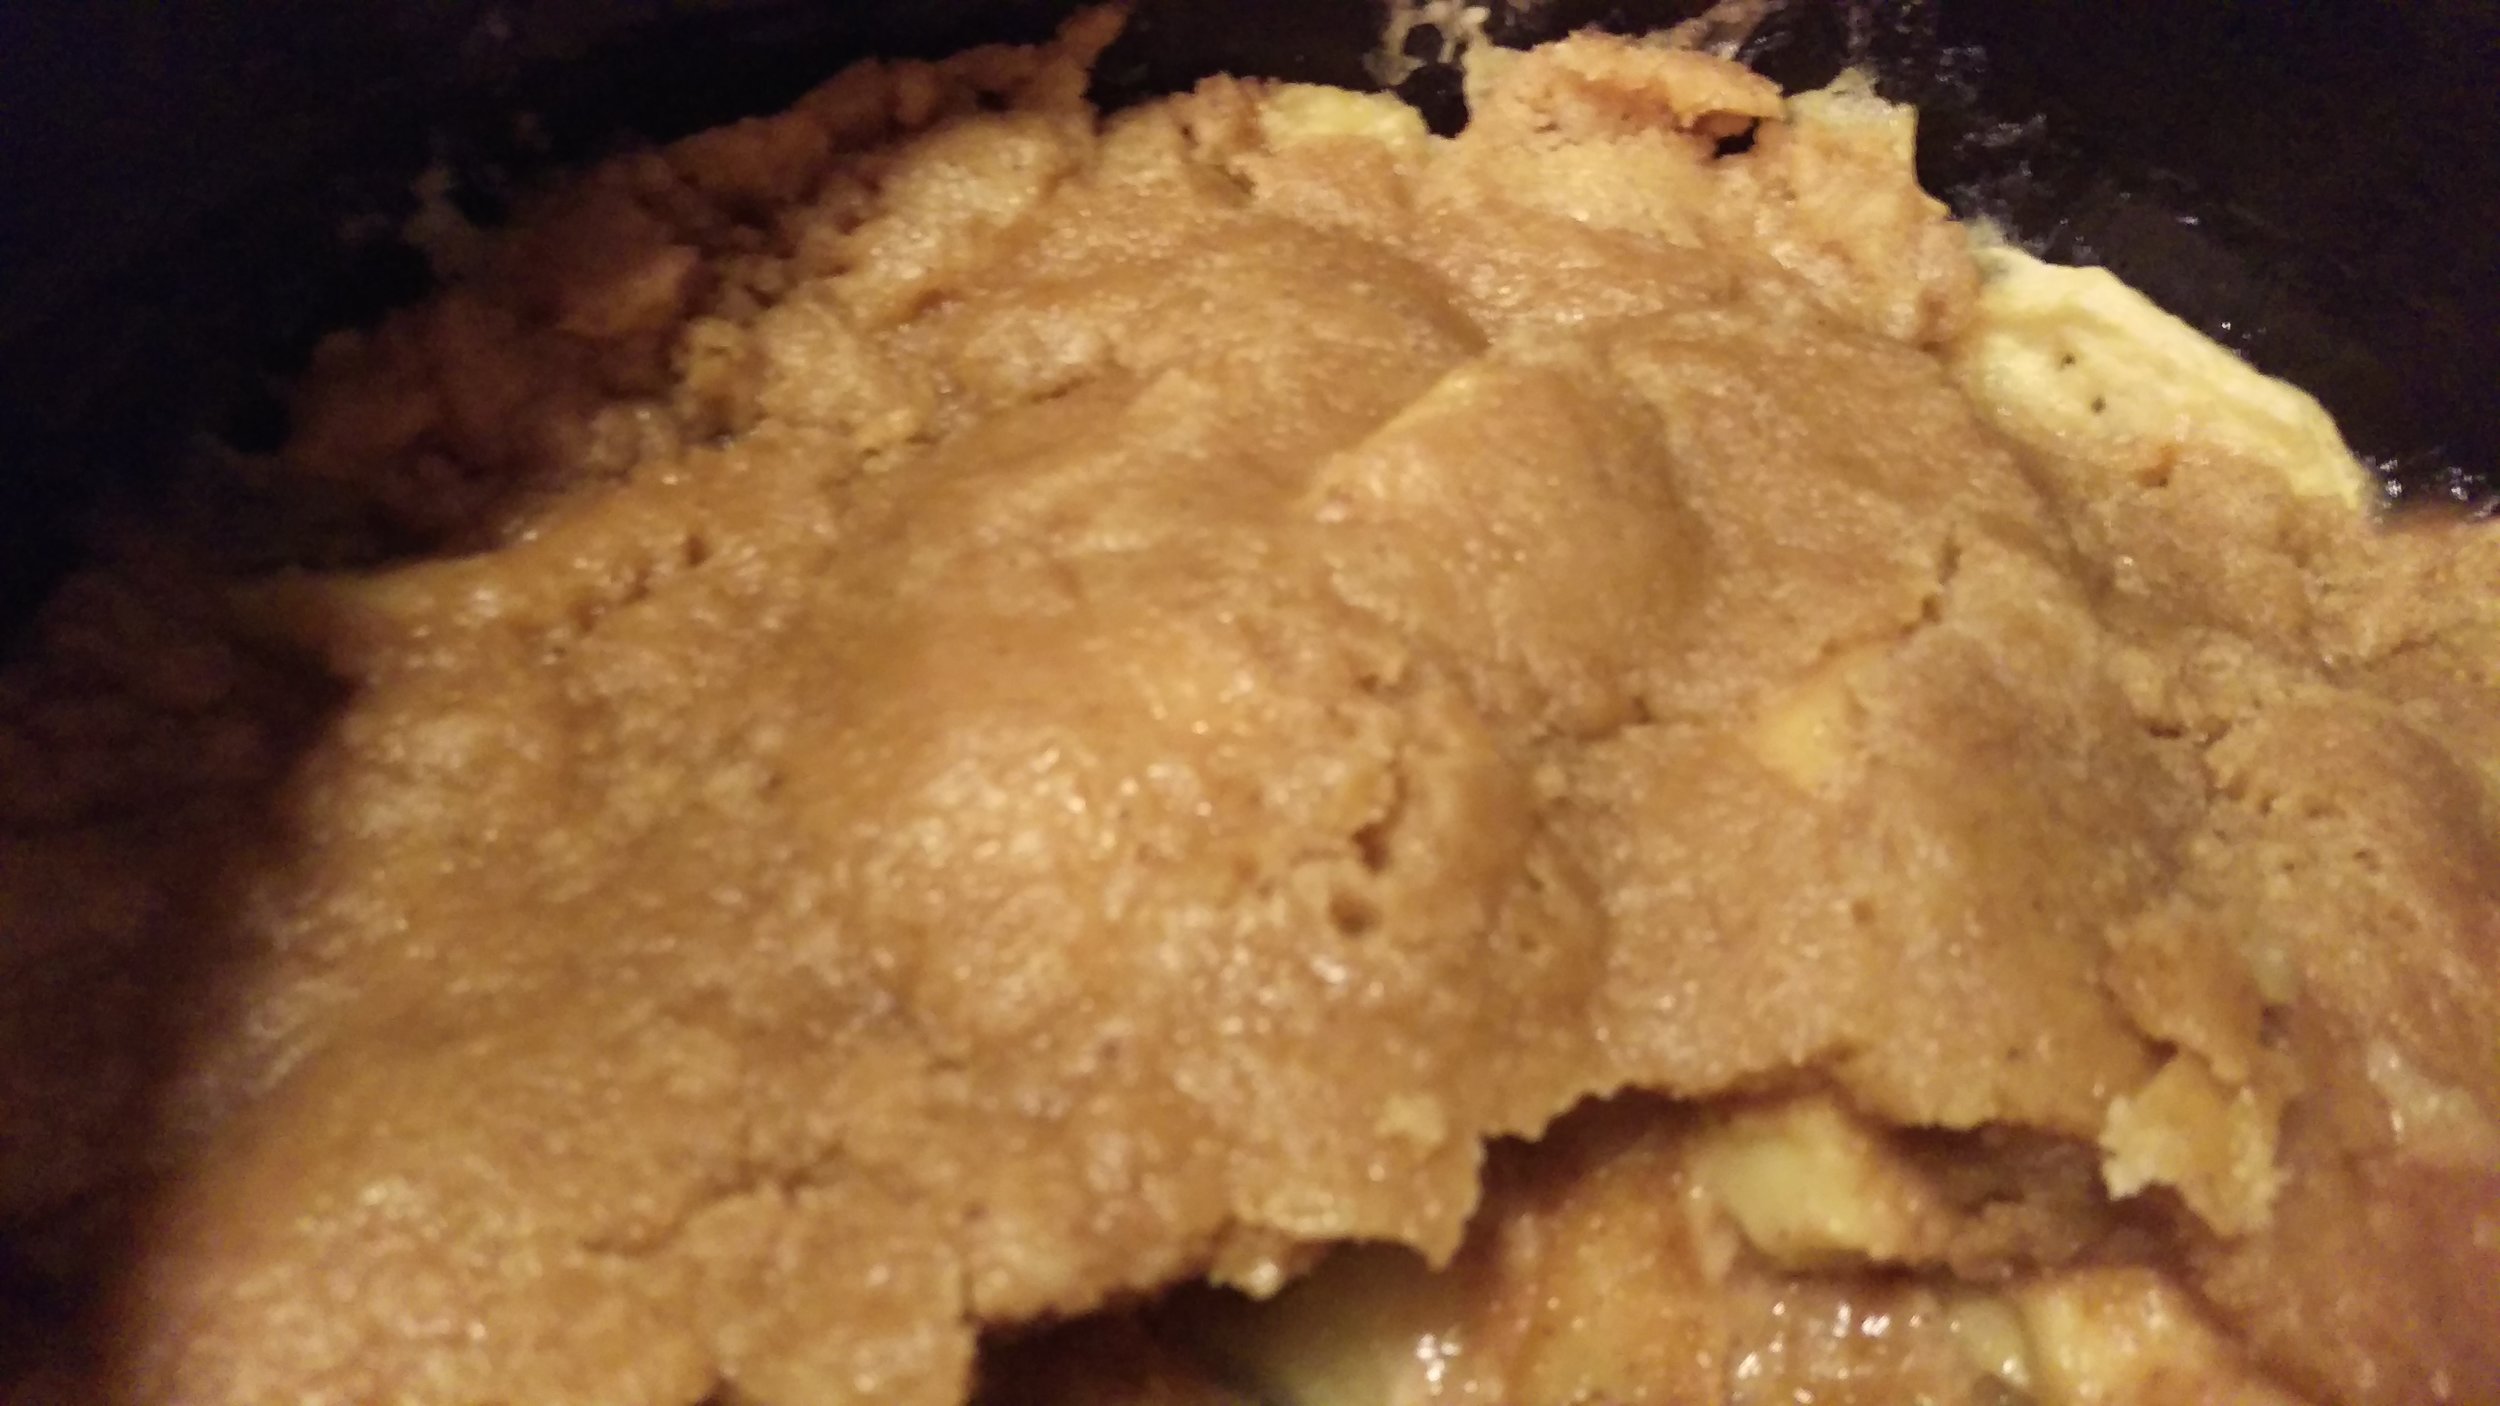
Cover the dutch oven with foil and slide that bad boy into the now fully heated oven. Grab yourself another adult beverage and watch an episode of Frasier while you let the dish bake for 25 minutes. Remove the foil then let it cook for another 10-20 minutes depending on how tender you want your apples. I went for 15 minutes and the apples were pretty soft so keep that in mind. You can test the apples from time to time with a fork to get them to your liking. When you get the apples just right you are all done.
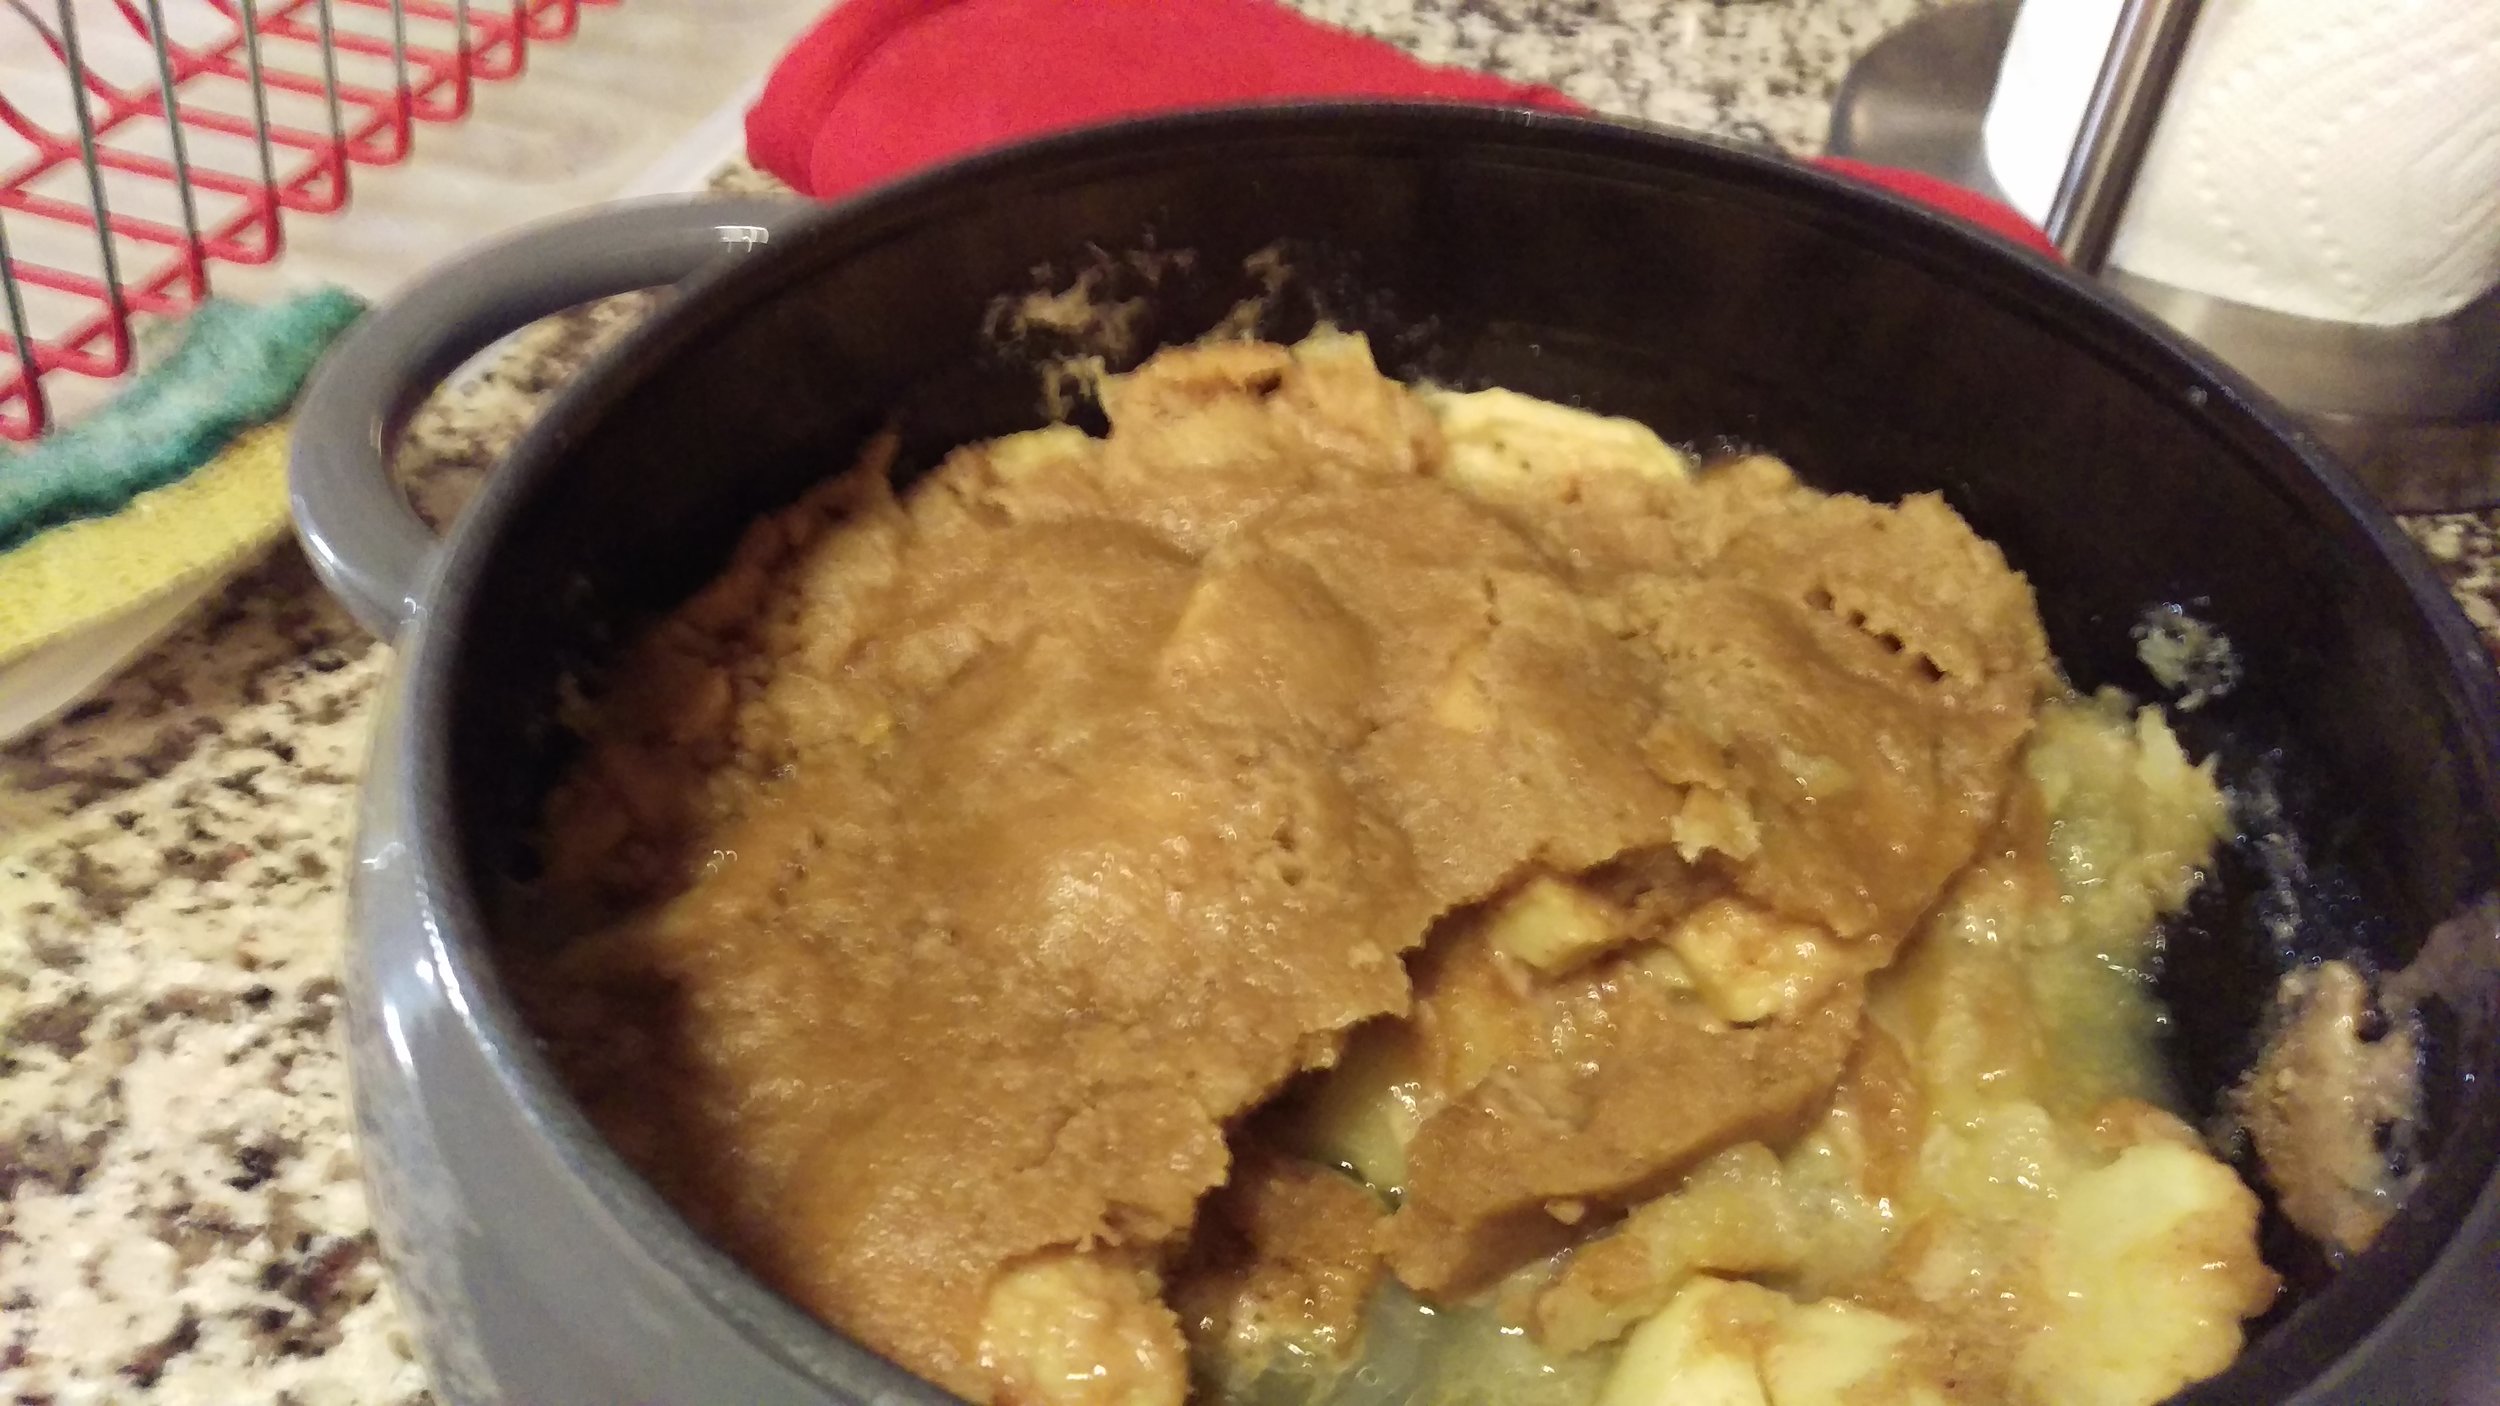
If you plan to serve it immediately, let the crisp sit and cool for about 10 minutes. I planned to serve it cold so I let it sit out for about an hour to get it pretty close to room temperature. Using cast iron take a while to cool so that is why it sat out so long. Then put your dish in the fridge to get it nice and cold.
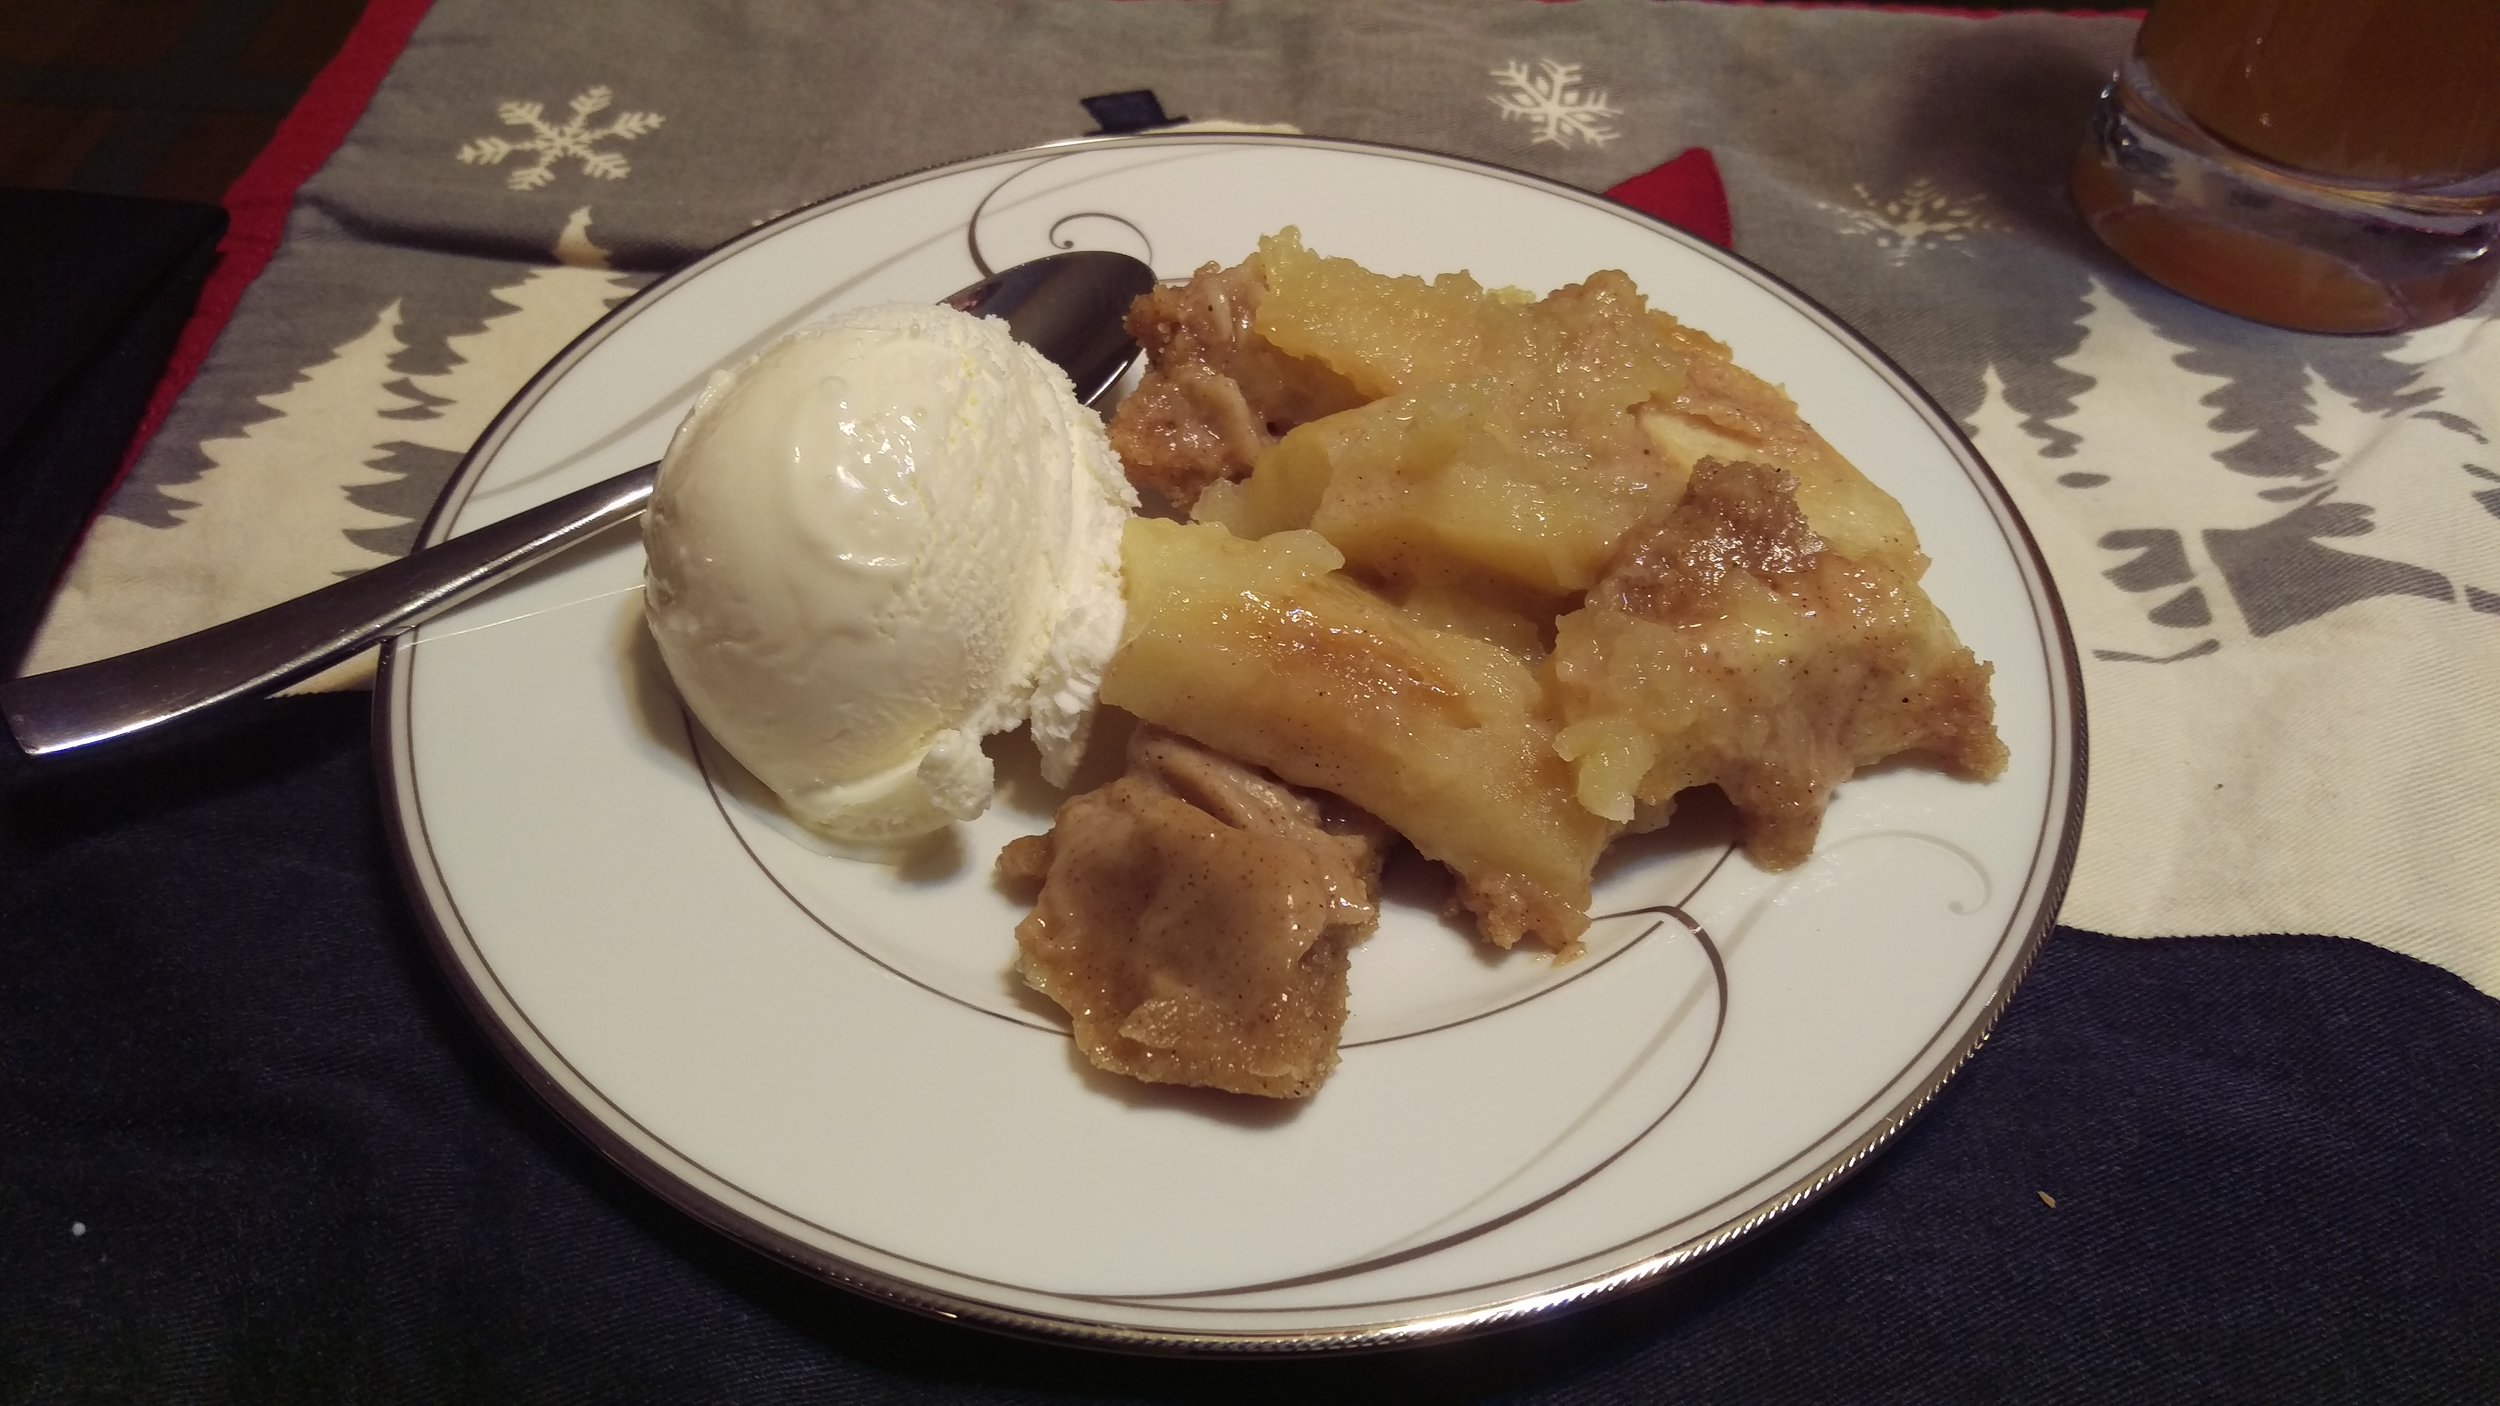
The final, and best, step is to eat the crisp. Just spoon it out into a bowl or on a plate. I served it with vanilla ice cream but it is perfectly delicious all on its lonesome. Rizzo and I ate lots of lots of this for days after baking, up to a week later in the fridge. It may get a bit more mushy as the juices mix with the topping but it is just as tasty.
If you want to check out the original recipe, go to http://eatitandsayyum.com/apple-crisp/.
Bon Appetit.
